Infos
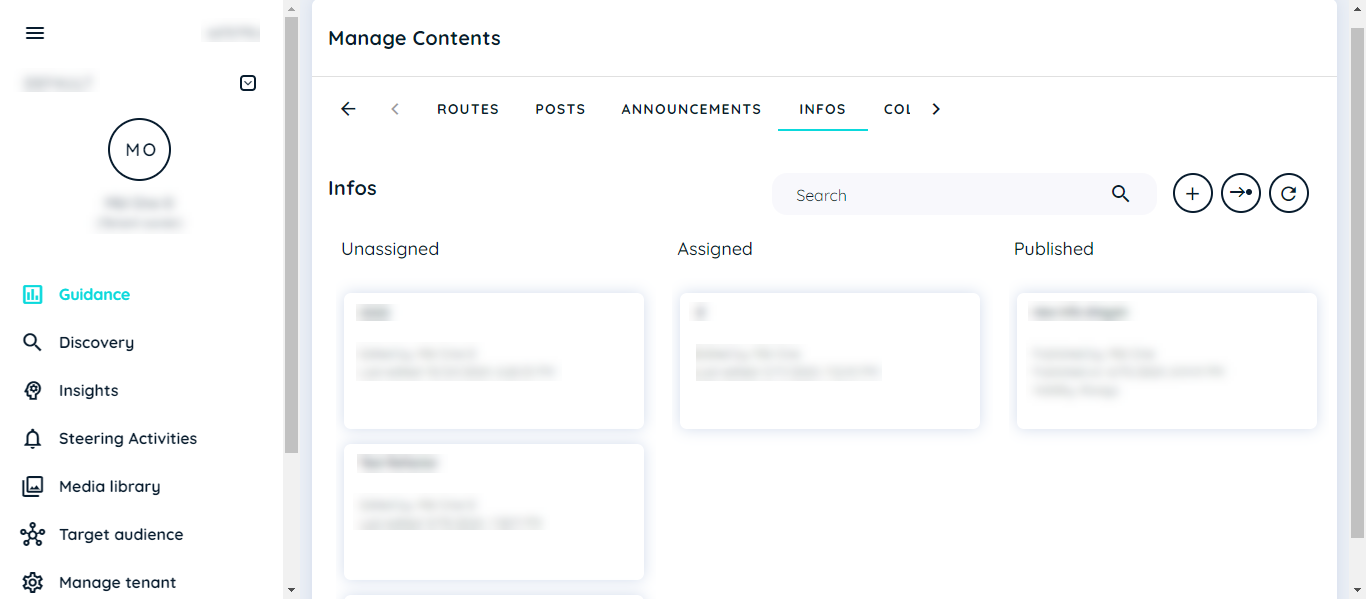
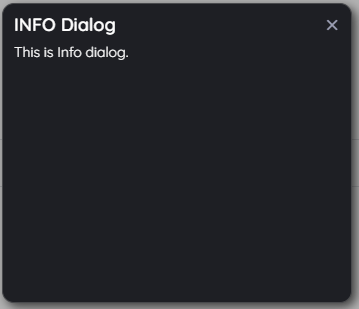
Info is a new feature which has been introduced, it has similar goal and functionality as announcement and post. It provide information to the user, it is displayed only when the user call it via custom code
Create Info
Here we will learn how to create info. Following are the steps to create info:
- Login into Portal
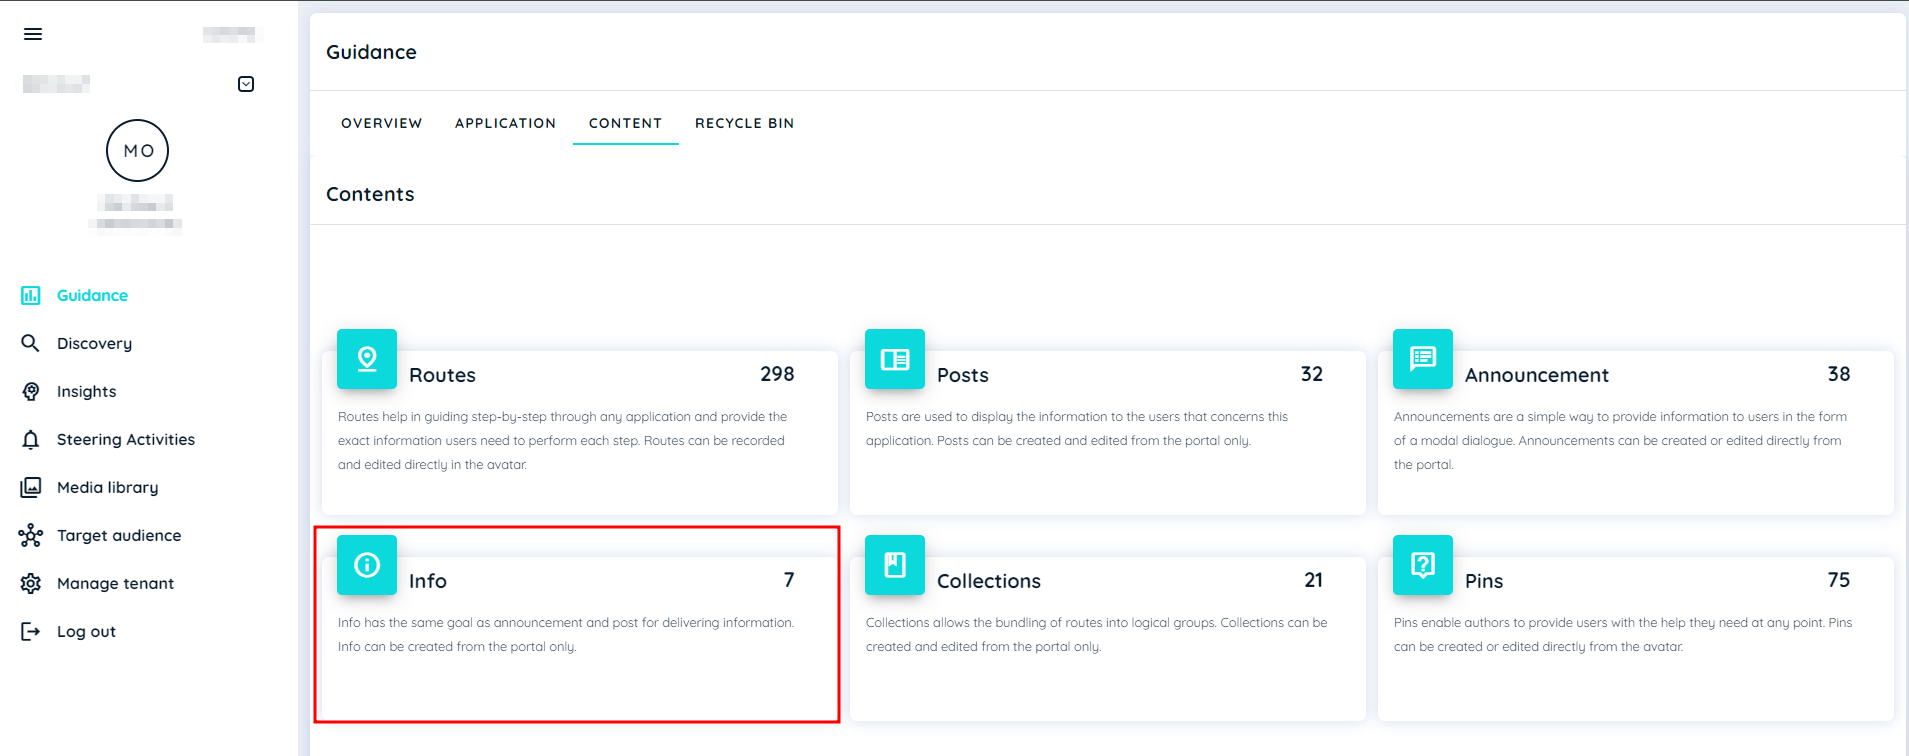
- Navigate to the Guidance tab
- Go to content tab under guidance
- Click on info card to add a info
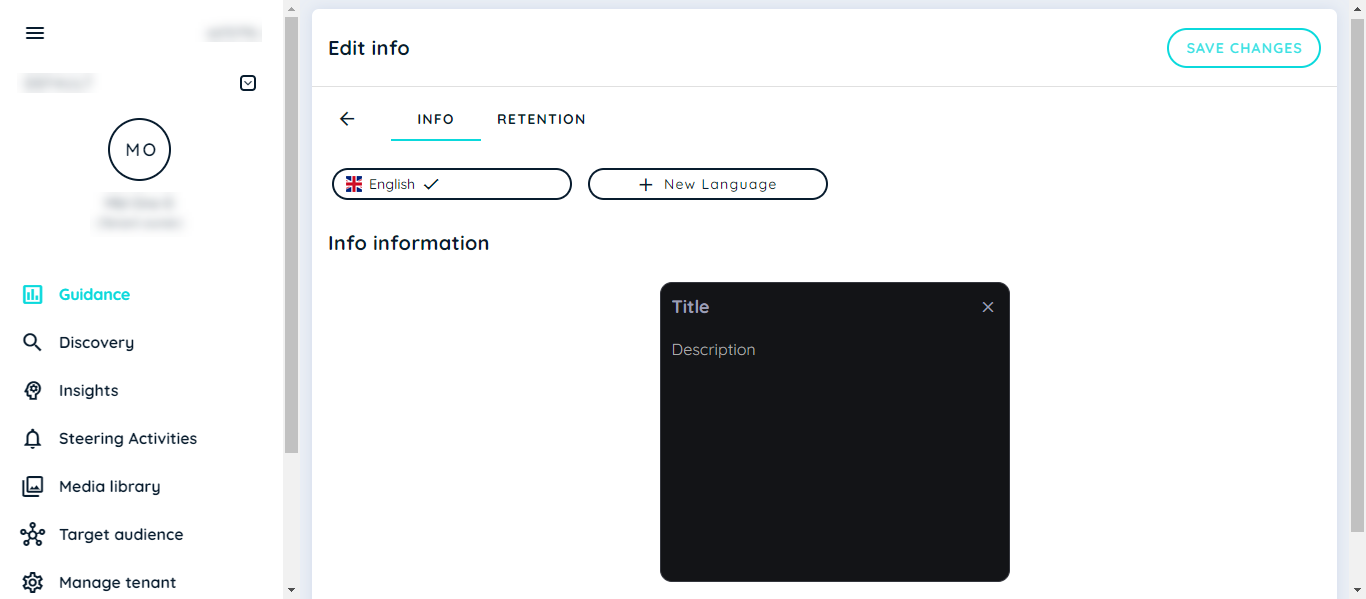
- click on + icon
- Add Title, description
- Click Save
Assign Info
Once Info is created, we can assign it to single or multiple applications. There are 2 ways to assign info.
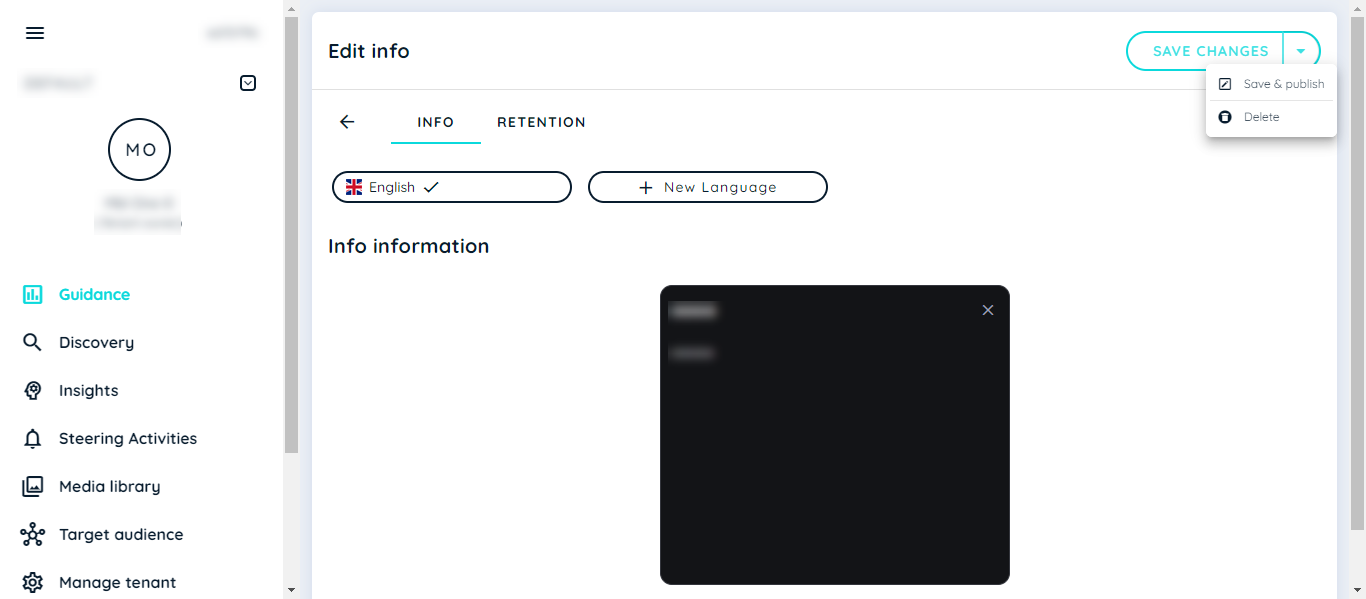
- Users can assign info through the info edit page and can choose an application to which users want to publish.
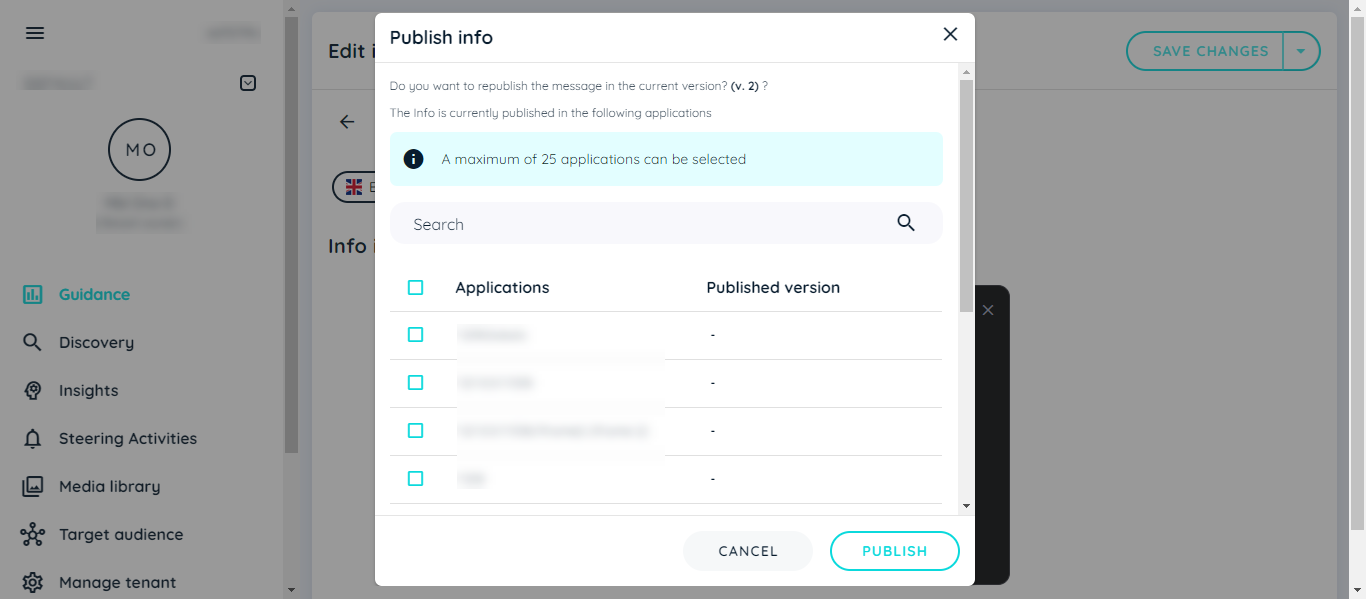
- Users can also assign info through the Application level, where the user has to select Application->Info. The info assignment page will open for that specific application where the user can assign/unassign/publish an info.
Info Visibility At Avatar Side
When user has created an info and has assigned it to some application. Now user can display that info at avatar. Here are the following steps.
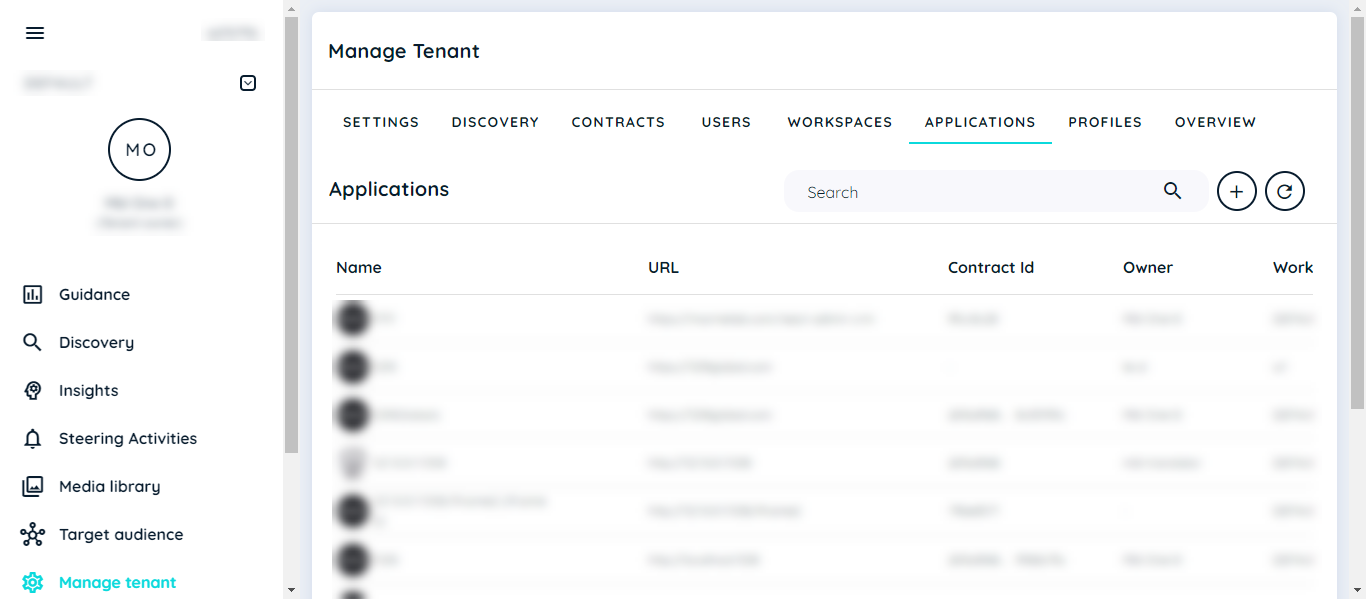
- Go to Menage tenant
- goto Application Tab
- Choose any application
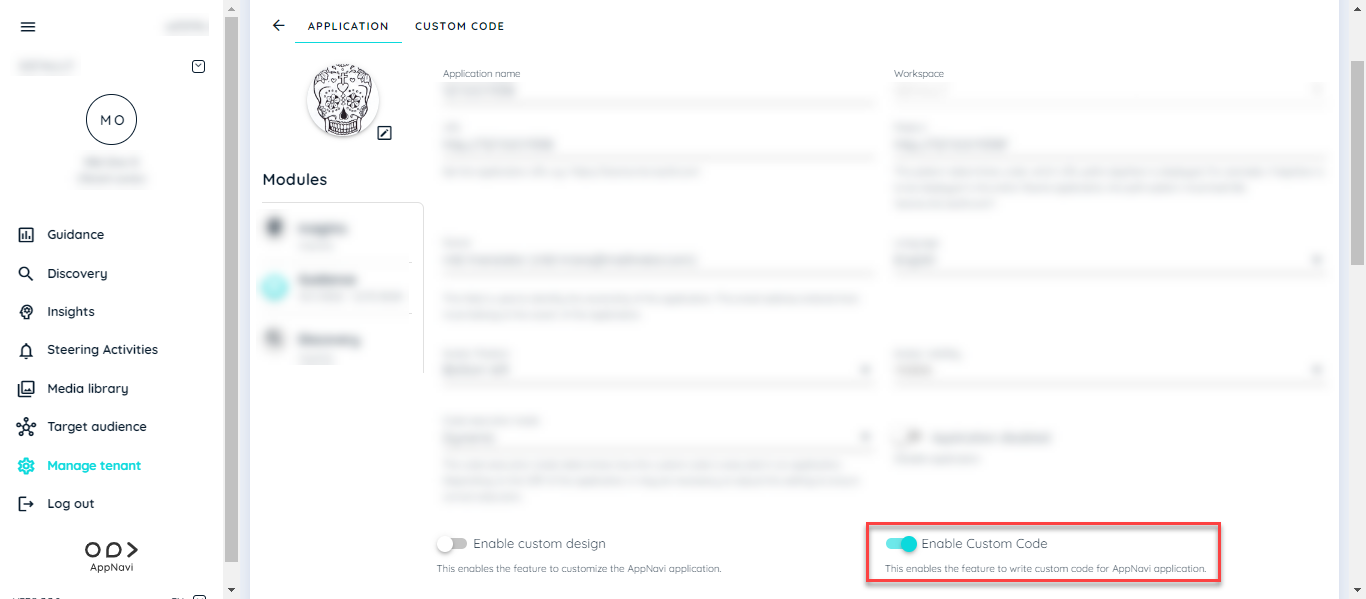
- Go to Edit Application -> Custom code
- enable custom code toggle button
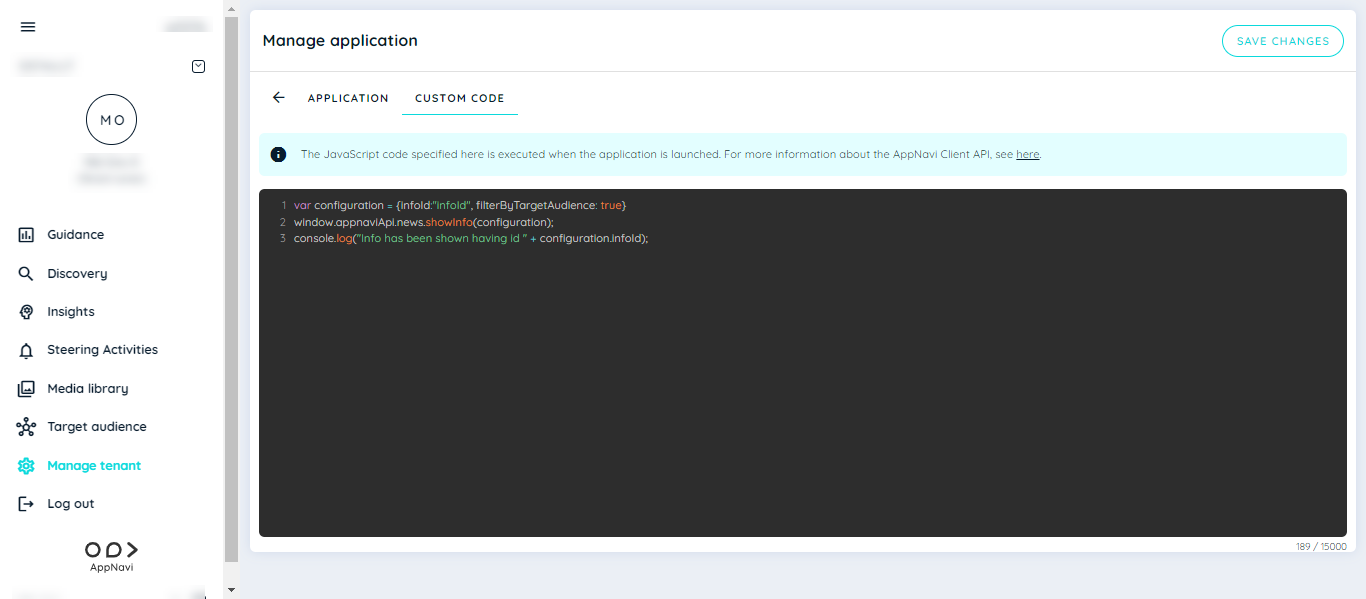
- Add this custom code there, it should have Info ID
var configuration = {infoId:"infoId", filterByTargetAudience: true}
window.appnaviApi.news.showInfo(configuration);
console.log("Info has been shown having id " + configuration.infoId);
- Click save
NOTE:
you can copy info ID from the URL
To locate the Info ID, please follow these steps:
- Navigate to the Info section.
- Open any specific info.
- Check the URL, which will look something like this:
https://portal-prod-eu-central-1.inappnavi.com/infos/edit/3208da0c/ba3da8e1
In this URL:
The first part (3208da0c) is the Workspace ID.
The second part (ba3da8e1) is the Info ID.
You can use this Info ID in your custom code.
- Go to Avatar and reload the page
- Info will appear in logout scenario
Updated 2 months ago