Working with connected routes
Add connected routes to a step
Connected routes can be used to connect routes with each other. Within each step the author can integrate possible connections to other existing routes.
End users get the option to select from one or more routes they can jump to. Doing so it is not only possible to connect routes from within the same application – users can also jump to routes within other systems. This allows to provide a set of sub routines which can be combined in an intelligent way.
- Open the respective route in edit mode by hovering the route tile and clicking on the "Edit" icon
- Select any of the steps
- Click in the tooltip text area of this step in the "Details" tab
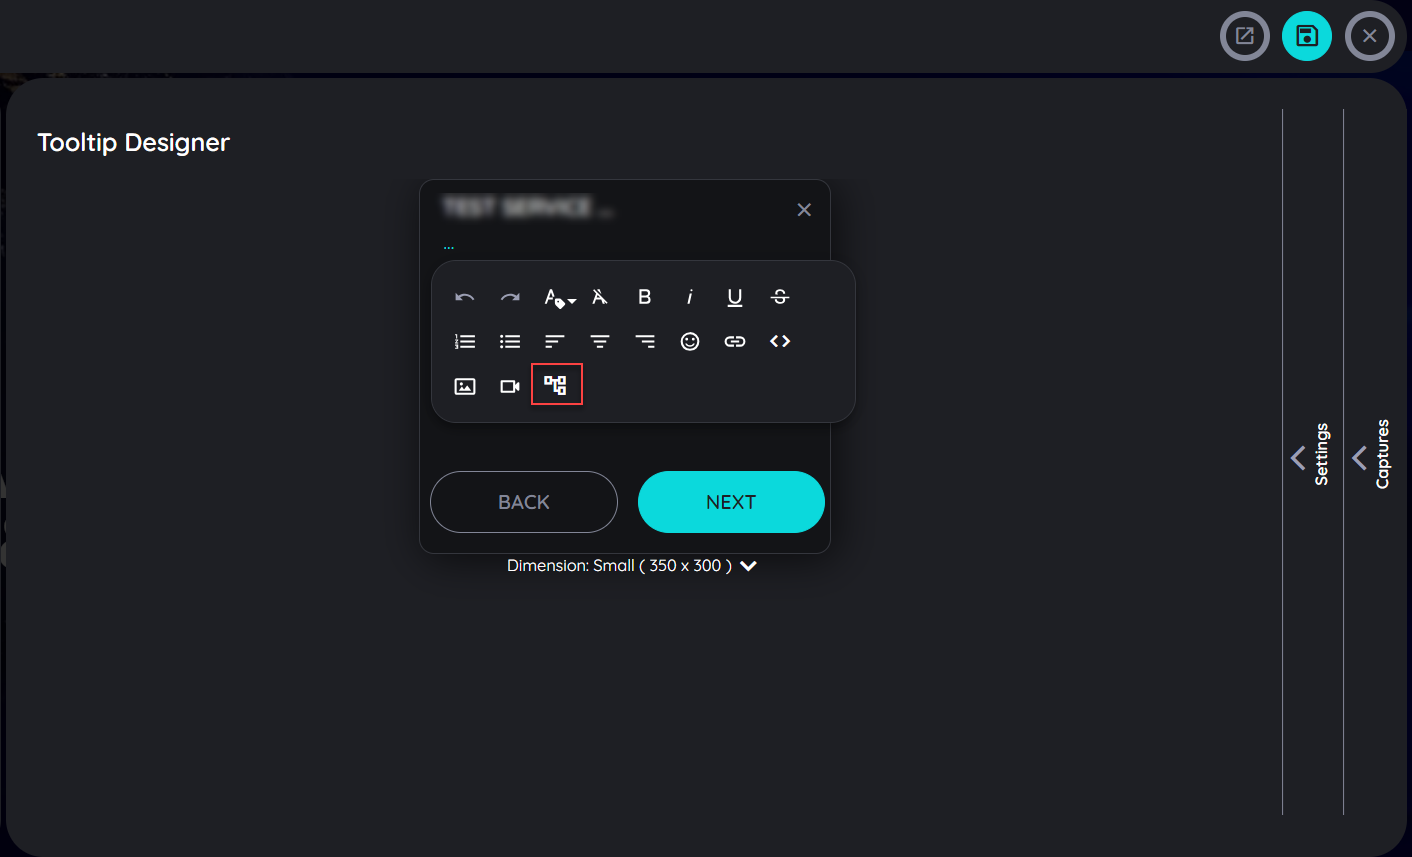
- Now click on the option "Connected routes"
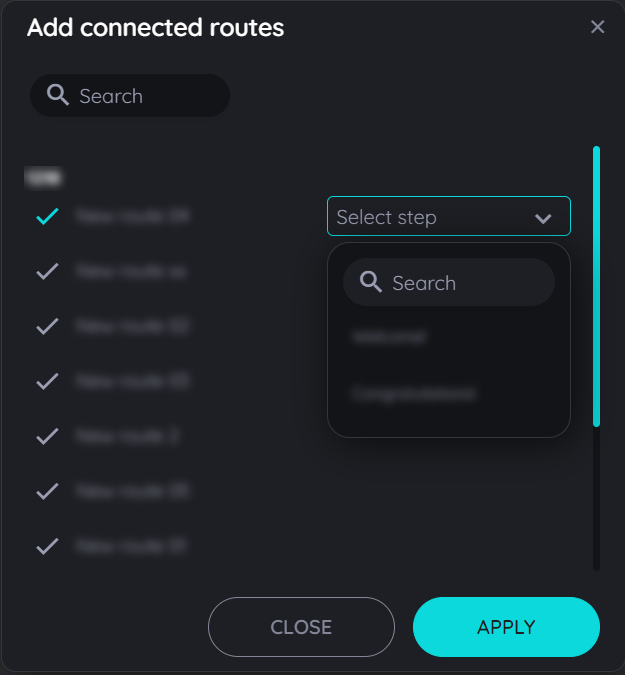
- In the dialog that opens, the available routes are now displayed (grouped into the available apps).
- Select one or more routes. You can recognize the selected routes by the colored "Check" icons.
- Click on "OK" if all appropriate routes are selected - or cancel the process by clicking on the "x" icon.
Open the dialog for connected routes

Select appropriate connected routes

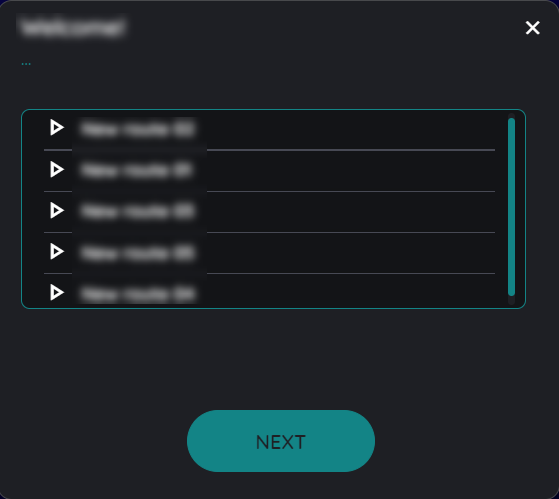
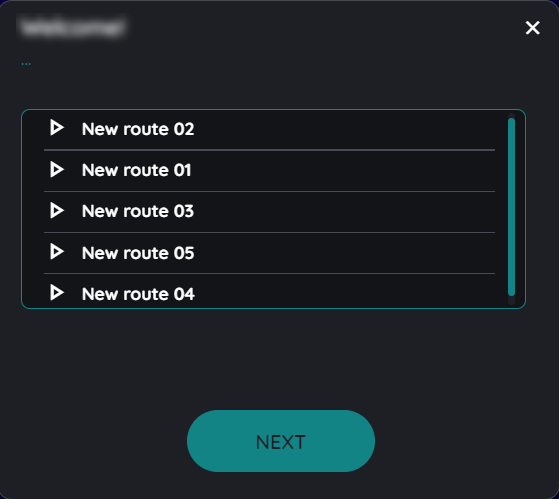
Connected routes are displayed to end users

Sorting order for Connected Routes
The routes can be sorted according to any order using the drag and drop function present in the planner view above. Once the user has added the connected routes in a listing manner then they can drag and drop the connected routes in any order in the planner view and the same order will be displayed to end users once the route has been published.

For example the above connected routes added in this dialogue can be saved as New route 01 to New route 05 in ascending or descending order just by dragging the connected route upwards or downwards according to the users requirement of sorting.
Updated 2 months ago