Workspaces
In AppNavi, tenants can be divided into different Workspaces. The Workspaces are to be seen as a further logical level of structure. Each Workspaces contains its own logically separated data. This includes, for example, routes, news, learning collections, users and so on. Each user can be assigned to one or more Workspaces, in which the user can then act according to his assigned rights. Workspaces within a tenant can be managed by the Tenant Owner role.
Advances of Workspaces as a Feature
Multiple Workspaces can be used by different users. Every Workspace may have different content like Route, News, Training and Hotspot. Workspaces maintain privacy between the content of each workspace. A user can only see the Workspaces and the content that is assigned to him.
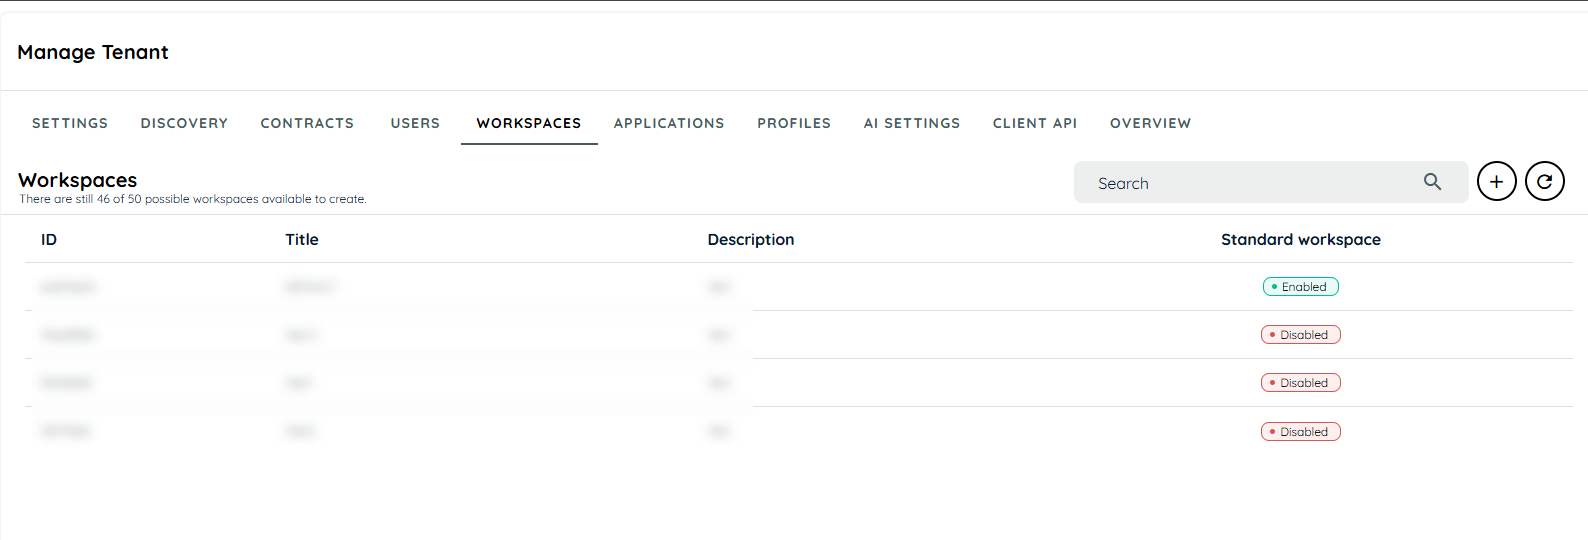
How to Create Workspaces
Only Tenant owners can create Workspaces.
- Go to "Manage Tenant"
- Open Workspace from the tab
- Click + Icon
- Fill the Title
- Fill in the Description (Optional)
- Click "Save Changes"

Types of Workspaces
There are two types of Workspaces
1.Default Workspaces
Default Workspace is set at tenant level; this Workspaces will be considered as default for all users within that tenant.
How to Set Default Workspaces
- Go to Workspaces
- Hover a row then click on three dots to open the context menu of any Workspaces
- Click "Set Default Workspace"
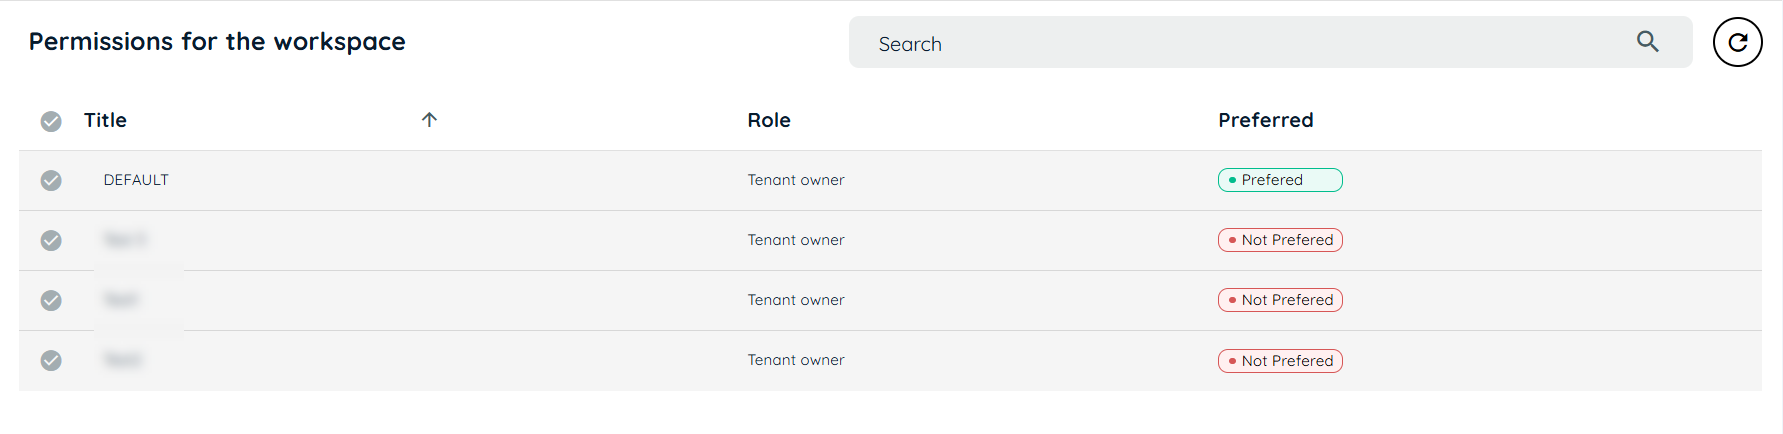
2.Preferred Workspaces
Preferred Workspace is set at the user level; this Workspaces will be considered as default for one specific user. A user can have multiple Workspaces and may choose one of them as a preferred Workspace, only selected Workspaces can be set as preferred. There can be only one preferred Workspace at a time, the user can change the preferred Workspace at any time.
How to Set Preferred Workspaces
- Go to Users
- Go to the "Edit User" from the context menu
- Go to the Workspaces list below
- Hover a row then click on three dots to open the context menu of any Workspaces
- Click "Set Preferred Workspaces"
Access Content Between Workspaces
Users can use the data and content of other Workspaces by using the following features.
1. Move
A user can move content like Routes, News, Trainings and hotspots from one Workspace to another Workspace. This feature is only allowed for the Tenant owner, Workspace owner and contributor.
2. Copy
A user can copy content like Routes, News, Trainings and hotspots from one Workspace to another Workspace. This feature is only allowed for the Tenant owner, Workspace owner and contributor.
How to move/copy content
The same steps will be applied for all the content like Routes, Posts, Announcements, Collections and Pins.
- Go to the content menu
- Click Routes
- Click the context menu on any route
- Click move/copy route
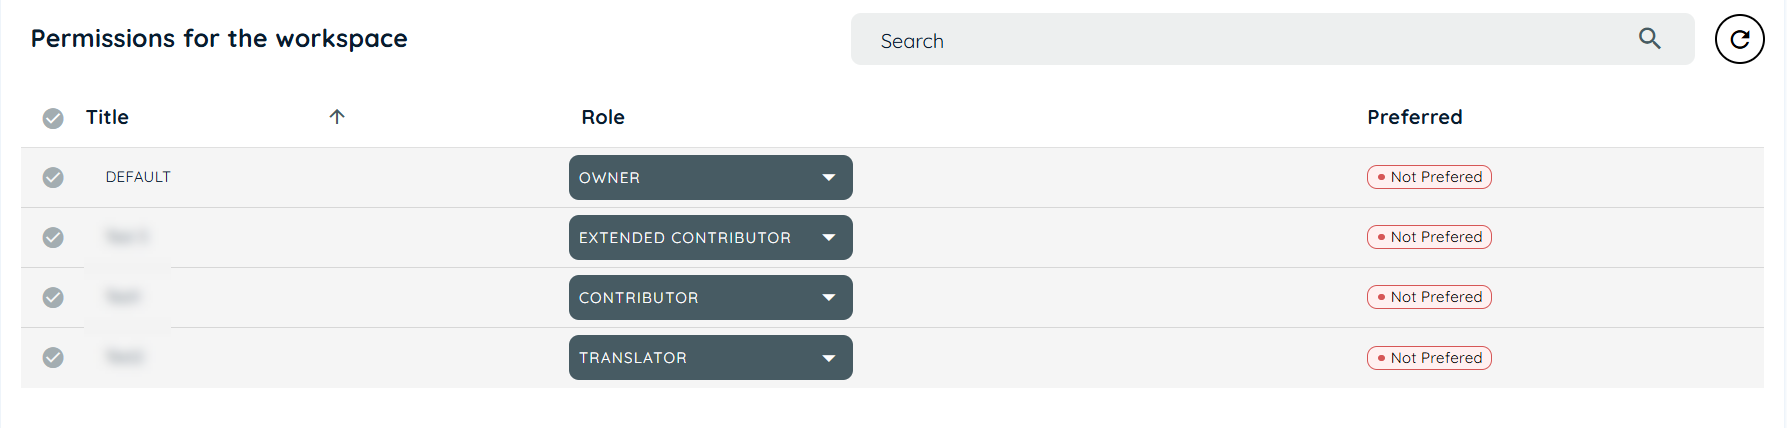
Workspaces Permission
Workspaces permission is responsible to define the role of each Workspace, which means every Workspace is having a role like a tenant owner, workspaces owner, contributor role and translator role. Roles decide the access permission and authority of any Workspaces at the portal and avatar side. A user can have multiple Workspaces, each with a different role.
If a user chooses Tenant owner as a role, all Workspaces will be check-marked and will be having tenant role. The user won't be able to uncheck any Workspaces.
If a user doesn't choose tenant owner as a role, all Workspaces will be having three options. A user can check/uncheck Workspaces by his choice, the user is allowed to set role only for checked Workspaces.
Updated 8 months ago