Add Additional Authors
Create additional authors
Next, you can create additional authors who can also create and manage content. You can decide whether authors can access all subscriptions or only specific ones - and which rights the authors should have.
- Log in to the customer portal
- Select the "User" option in the menu area
- Click on "+ Add New"
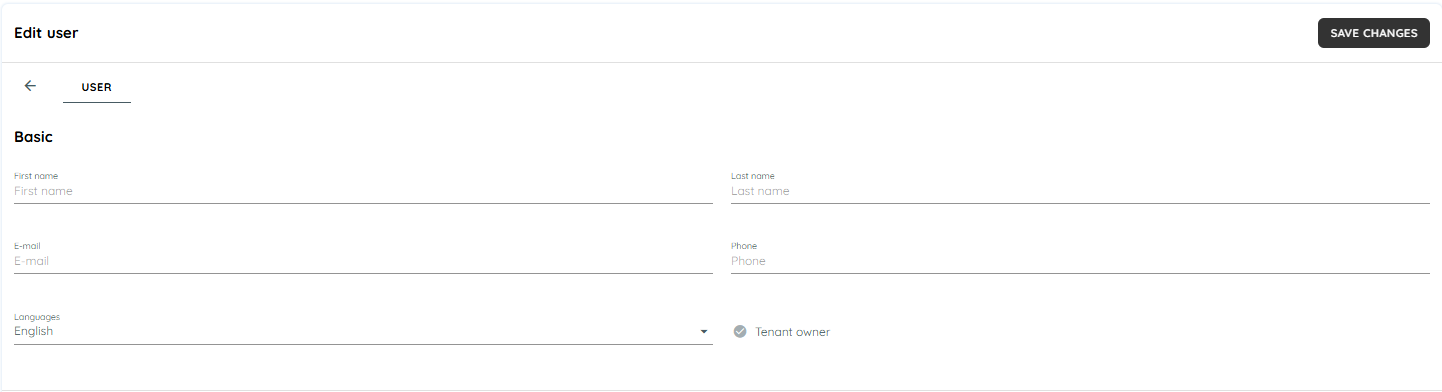
- Enter the first name, last name, e-mail address and phone number (optional) of the new user
- Choose the language in which the user should receive messages and emails
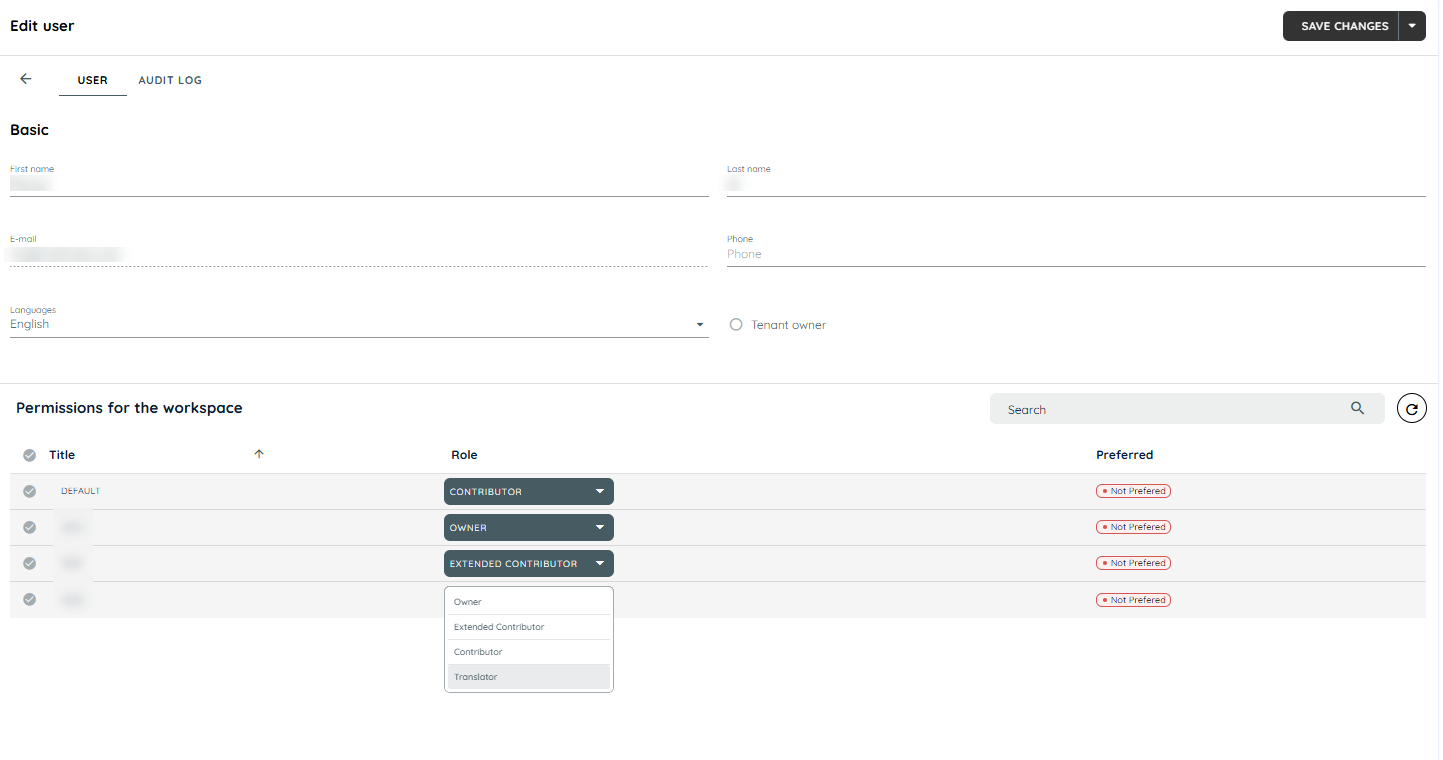
- Assign one (default) or more subscriptions to the user
- Click on "Save Changes" to create the new author
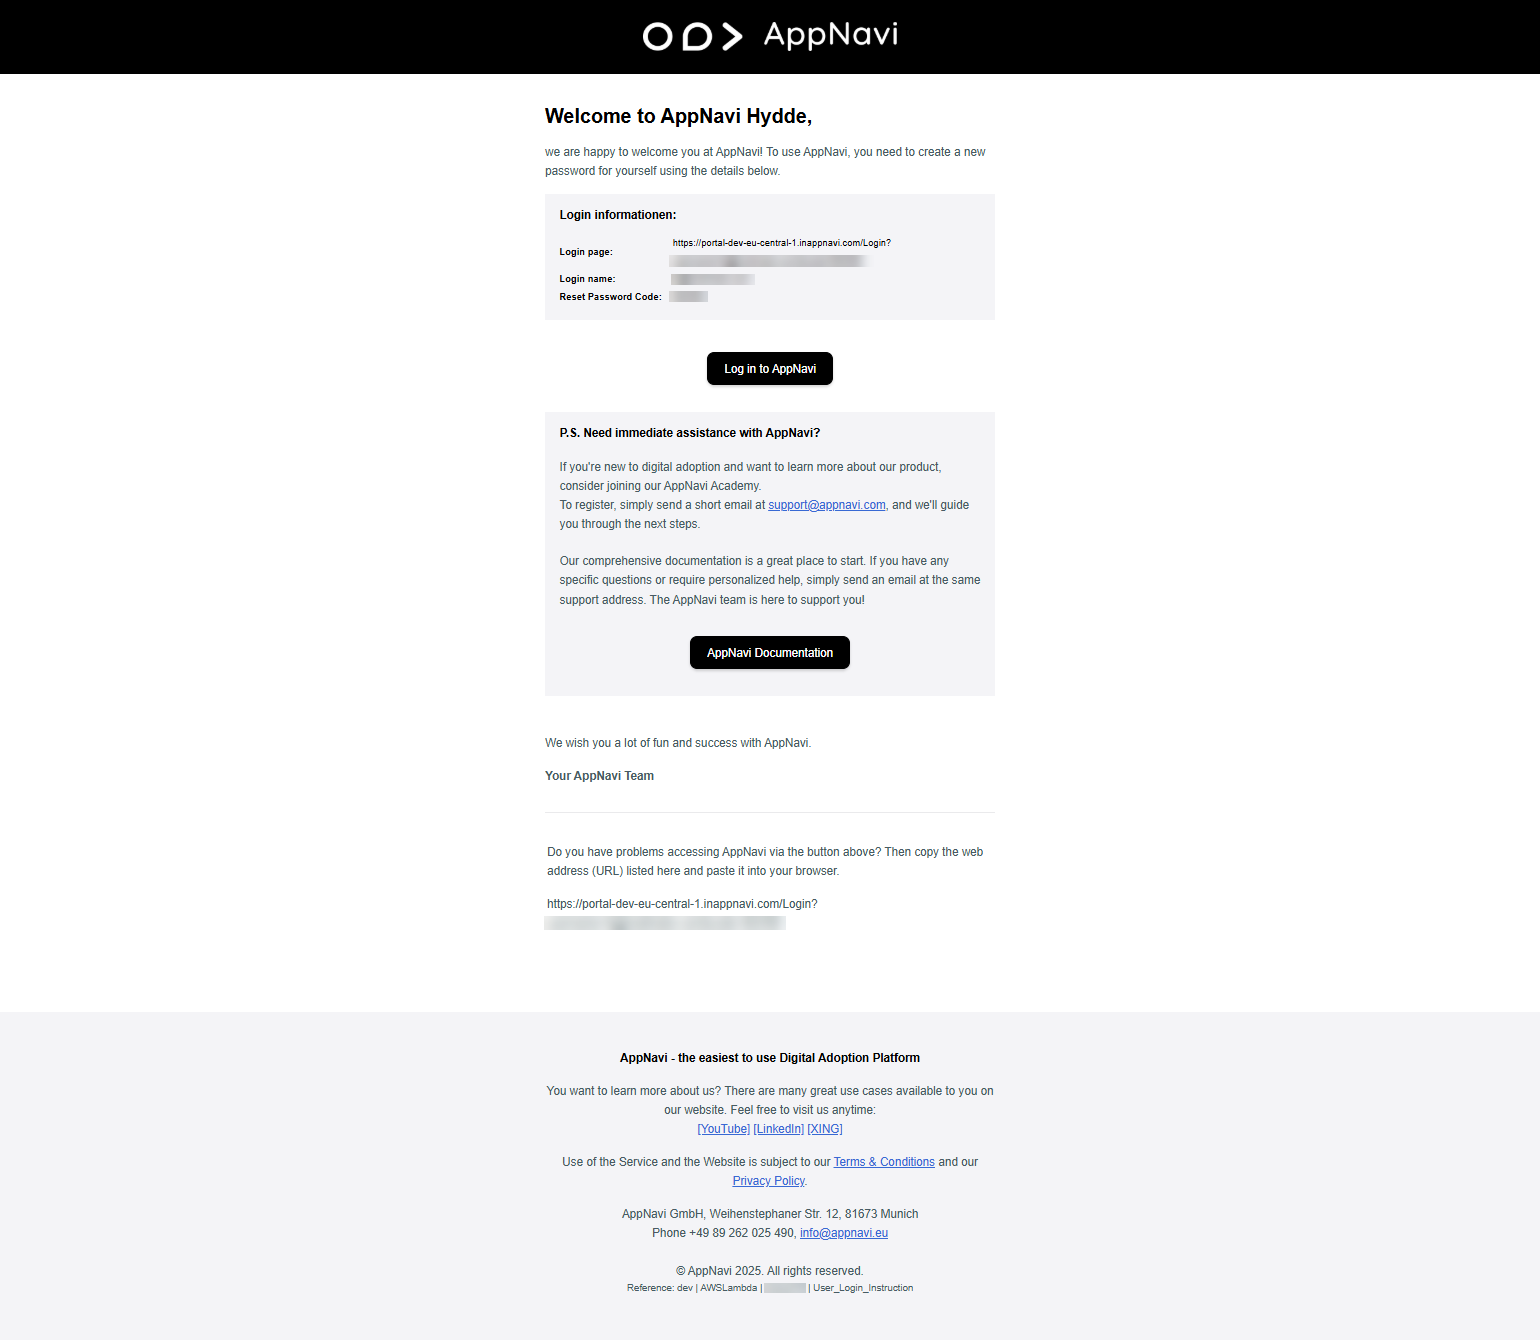
With this, the new author is created and receives an automatic e-mail with the access data.
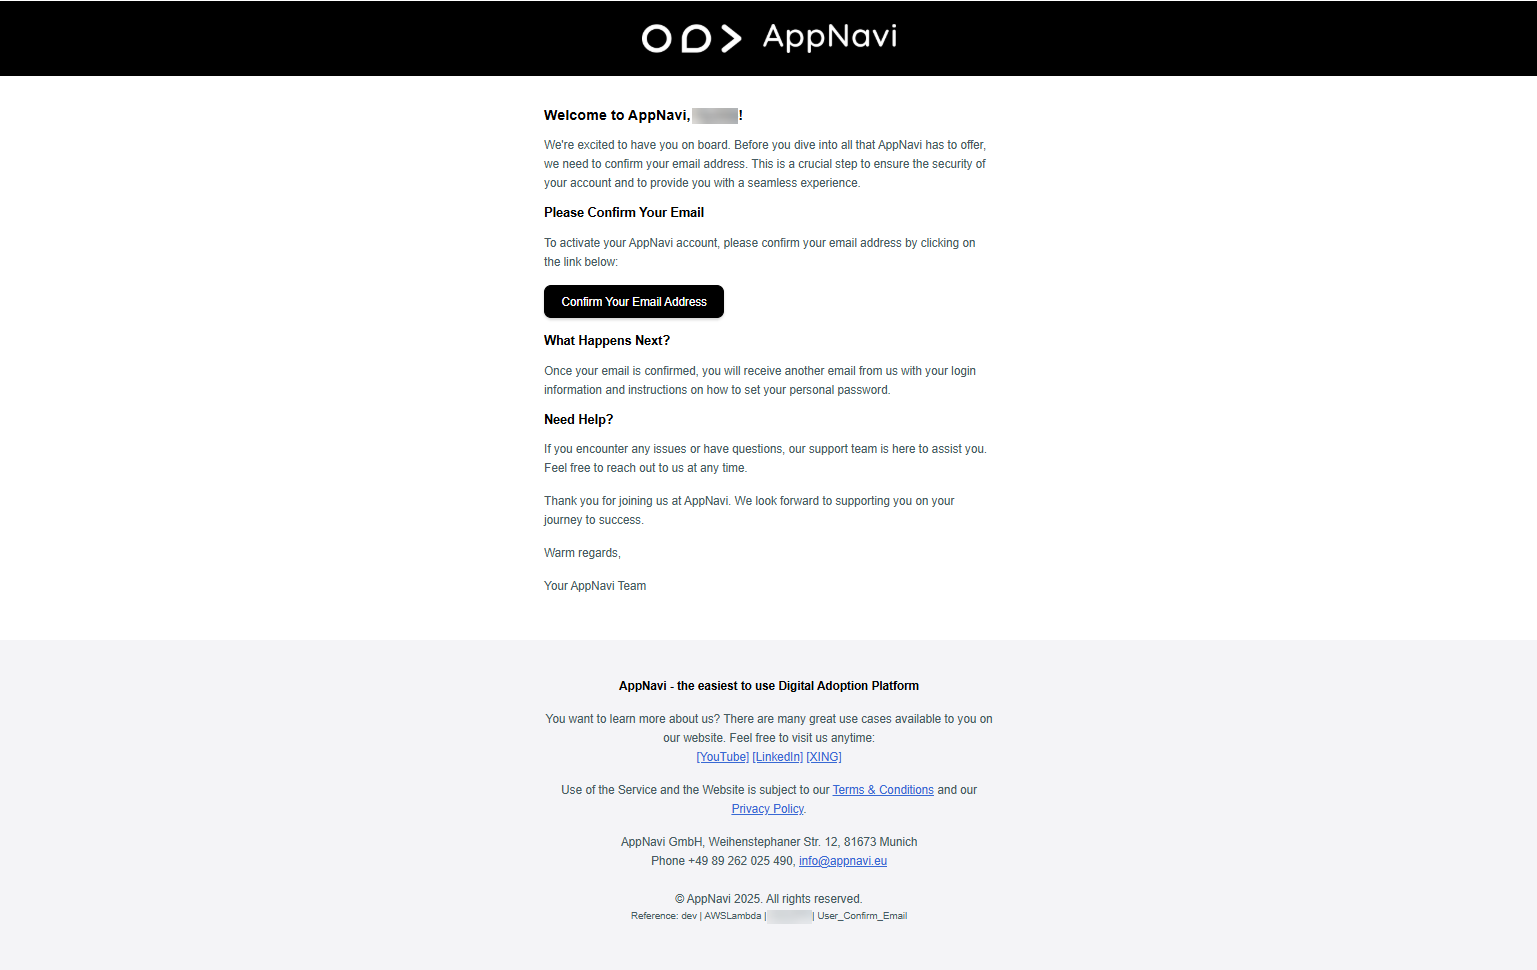
Notice:
If the new author does not login using the attached link and does not assign a new password, the account will remain in the "Force Change Password" status. A password reset is not possible at this time. If the author has not completed the process correctly, the author must be deleted from the customer portal and created again.
Various roles
In AppNavi you have different roles at your disposal.
- Tenant owners have full rights to the entire tenant - up to and including deleting the tenant. There can be any number of tenant owners in a tenant. However, we recommend mounting the role, because besides the deletion of the tenant also security options can be reduced.
- Owner can change all contents in all workspaces assigned to him. Workspaces often represent organizational structures. For example, Workspace 1 corresponds to organizational area 1 - and Workspace 2 to organizational area 2. This allows responsibilities to be clearly separated - and also enables cross-area cooperation.
- Contributor can manage content in one or more applications within one workspace.
- Extended Contributormanages applications and contents of applications.
- Translator can translate specific content - but not, for example, change the route.
Inform authors about Browser Extension
If you have included AppNavi via browser extension, please inform them that you need to add the browser extension to their browser and enter the Tenant ID.
Updated 9 months ago