Single Sign-On Avatar
The single sign-on must be enabled on the tenant also the identity provider's settings must be configured on that tenant.
- Login to the Appnavi portal with the tenant owner role
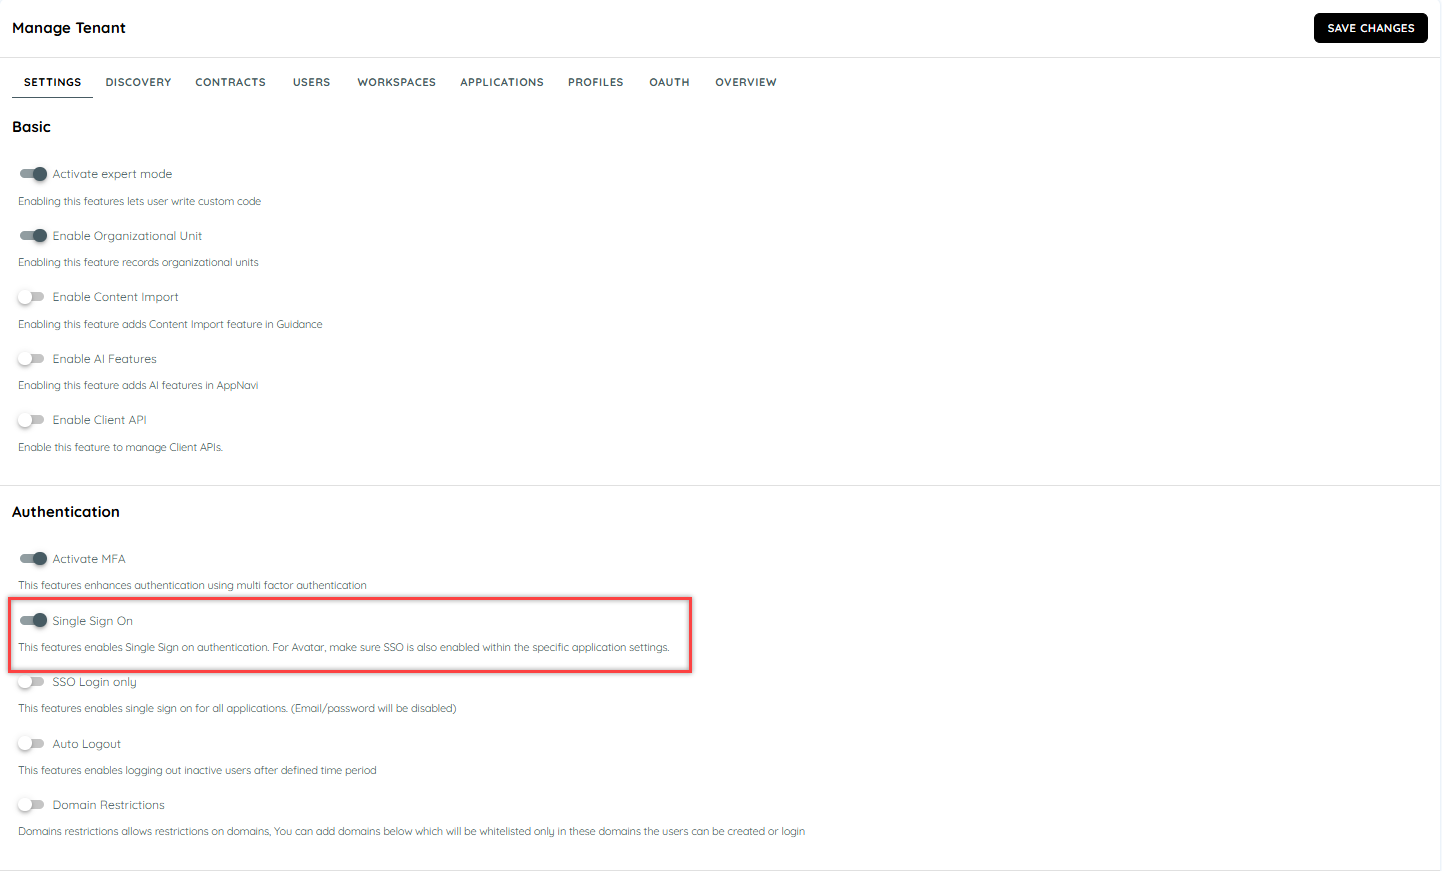
- Go to the Manage tenant and enable Single Sign On
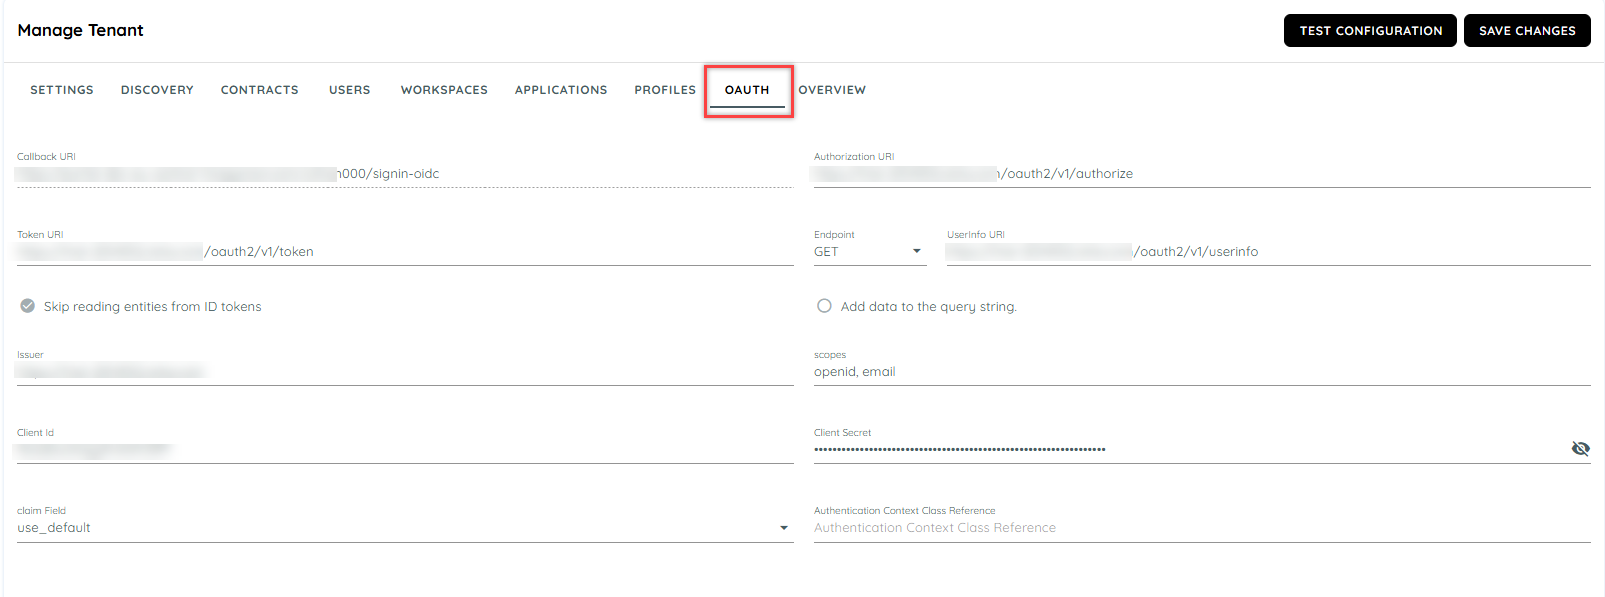
- On the OAuth tab, fill in all the required fields with the valid Identity provider's configuration.
For more details refer to the following links,
Single Sign-On with Azure AD
Single Sign-On with Okta
SSO Workflow
The general workflow of SSO involves the following steps:
- After saving the configuration on the portal side, the avatar initializes with the settings saved on the tenant and the application.
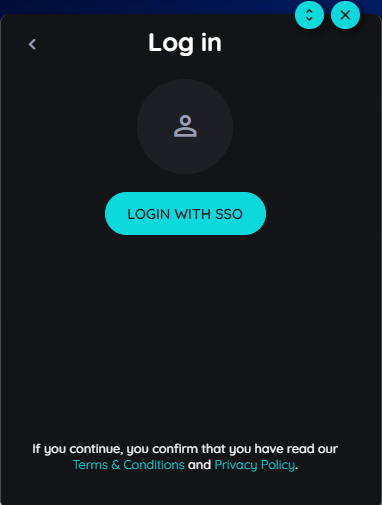
- In case of enabled SSO, a link or button as Login with SSO will be displayed.
- As the user clicks on the “Login with SSO“ link or button, AppNavi authenticates the user with the settings configured on that tenant.
- If not authenticated, AppNavi redirects the user to the Identity Provider (Azure AD or Okta) for authentication.
- A popup window will be opened to provide credentials
- The user provides their credentials to the IdP (Identity Provider).
- The IdP authenticates the user and redirects the user back to the AppNavi API.
- The AppNavi creates the users’ claim identity.
- The user logs in and gains access according to the role granted on the AppNavi avatar.
Authentication Modes
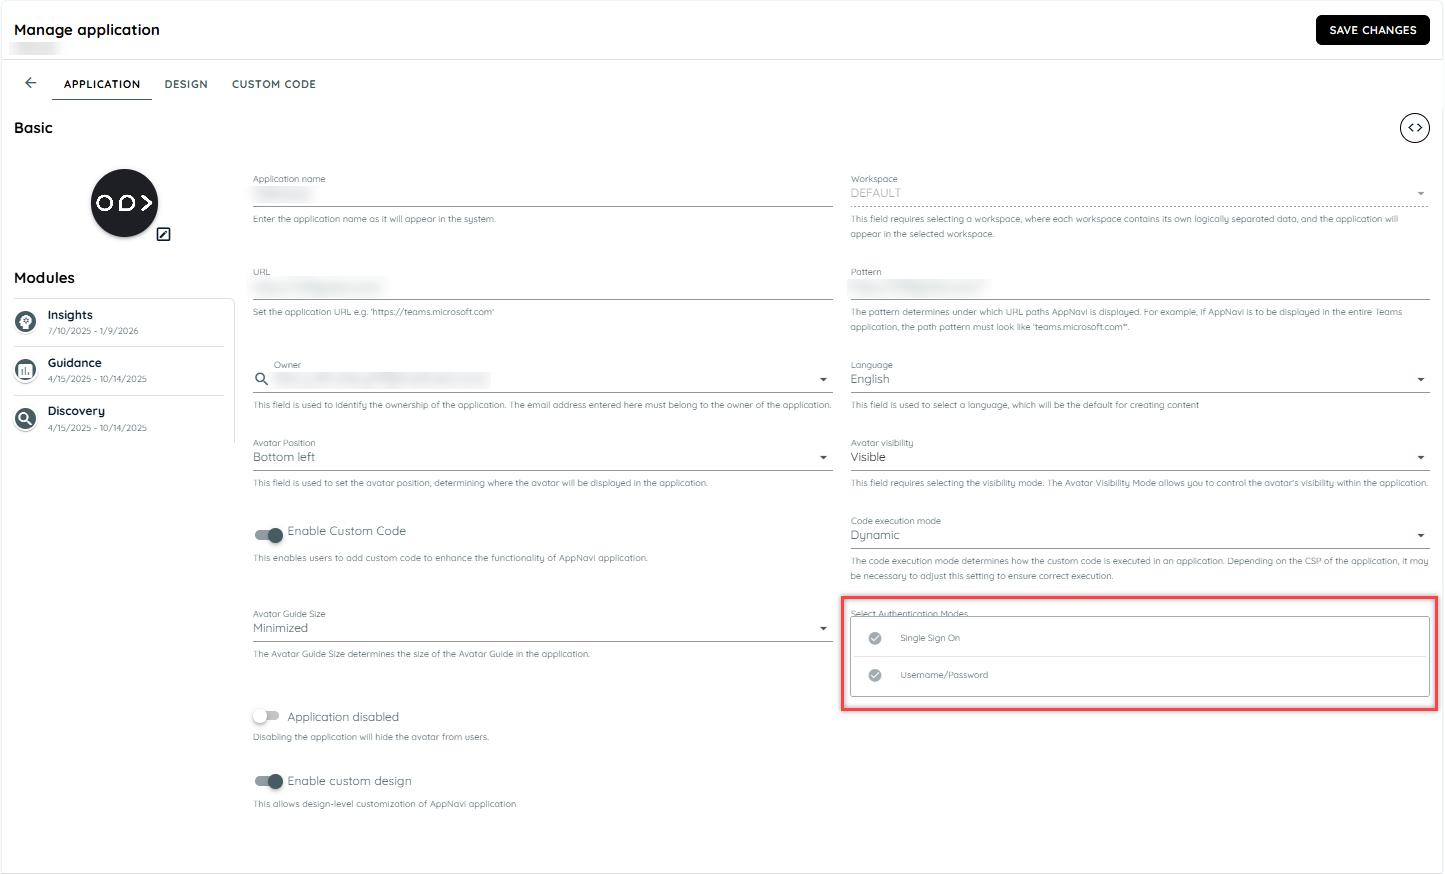
Currently, there are two modes of authentication that can be selected on the application level from the Application Edit page.
- Single Sign On
- Username/Password
There are two options available on the Application Edit page to select how the user can authenticate on the avatar. Users can select multiple authentication modes at the same time.
-
If only SSO is selected on the authorization mode of the application and SSO Login only is disabled on the tenant, there will be only the SSO button on the Login view of the avatar
-
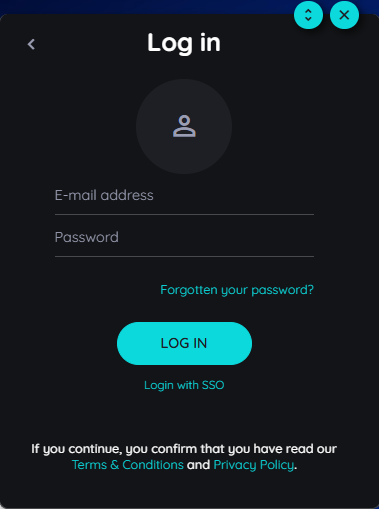
If username/password is selected, the normal login view will be displayed with the email and password fields.

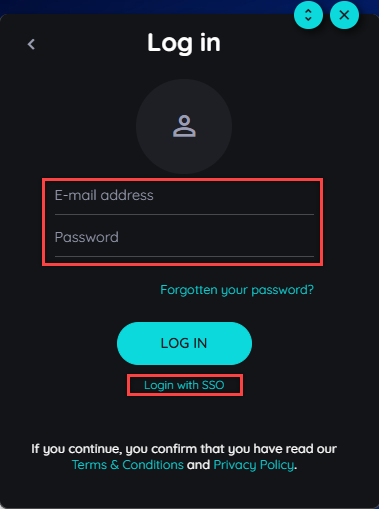
- If both are selected user will have the choice to log in via Single Sign On or the email and password.
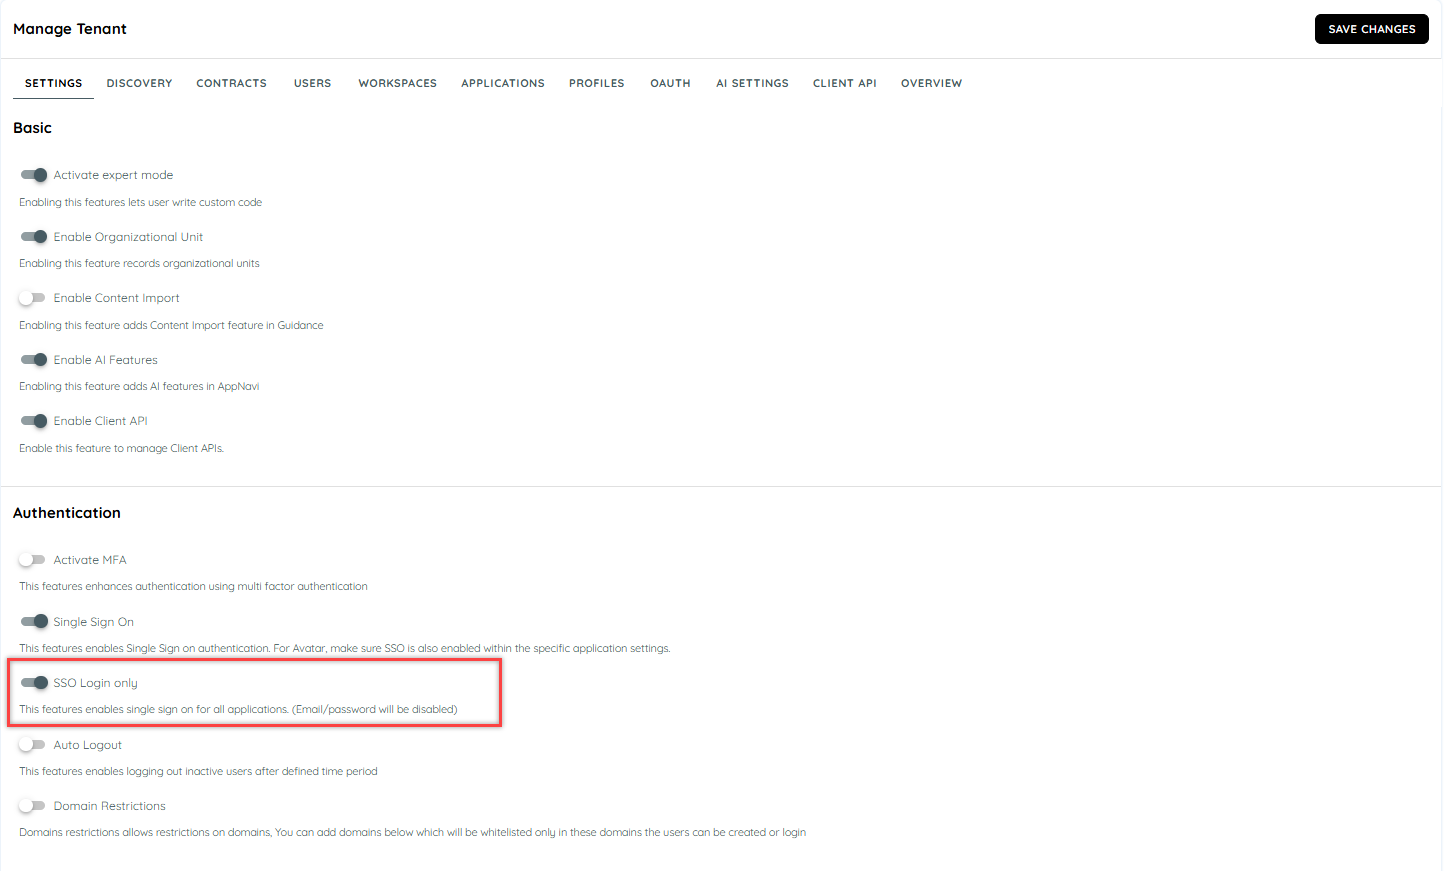
SSO Only
AppNavi also added an option as SSO Login only. This will allow users to log in with SSO only. To enable it, log in to the AppNavi portal then go to Manage Tenant > Settings and click on the toggle switch.
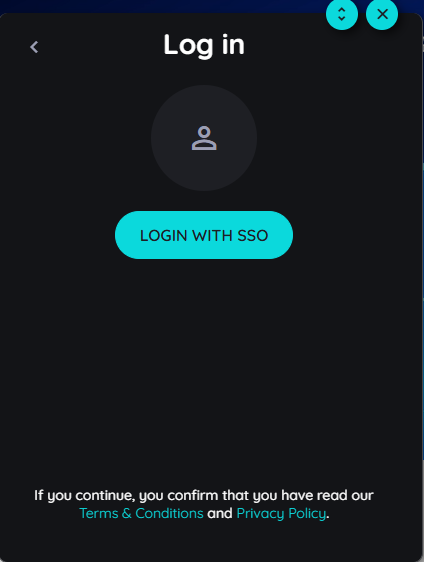
If SSO Login only is selected on the tenant level, there will be only the SSO button on the Login view of the avatar without considering the authorization mode selected on the application.
If you face any problems while trying to log in using SSO, you can try resolving the issue by following these steps:
- Clear the cookies associated with the Identity provider.
- Once the cookies are cleared, attempt the login process again.
This should help to resolve any login issues you may be experiencing.
Updated 8 months ago