Getting Started
In this section, we’ll walk you through enabling Client APIs, creating new clients, and granting permissions for the available Public APIs within different modules.
Getting Started
-
Enable Client APIs
- Log in to the AppNavi Portal.
- Navigate to Manage Tenant.
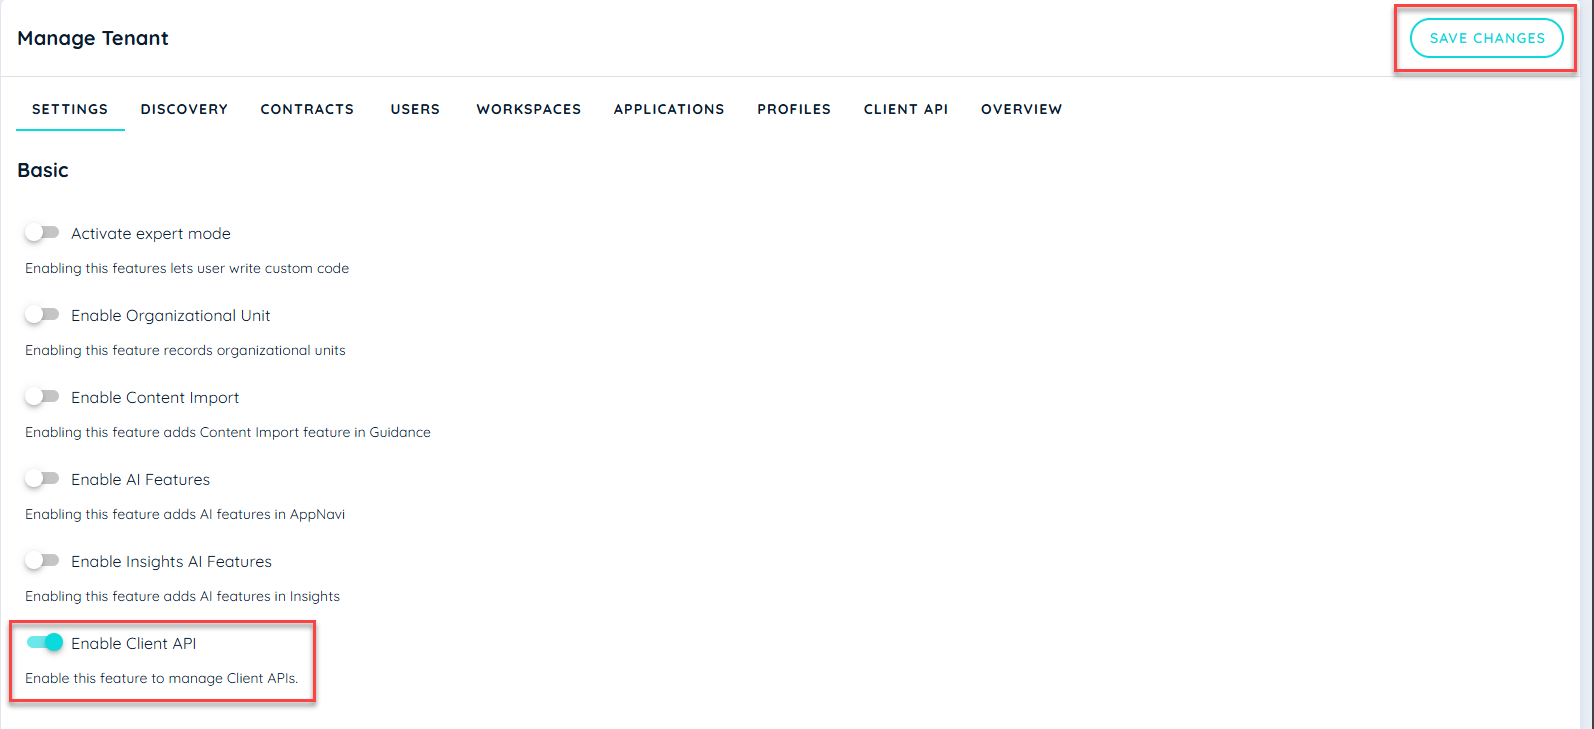
- Select the Settings tab.
- Toggle Enable Client API to On.
- Click Save Changes.
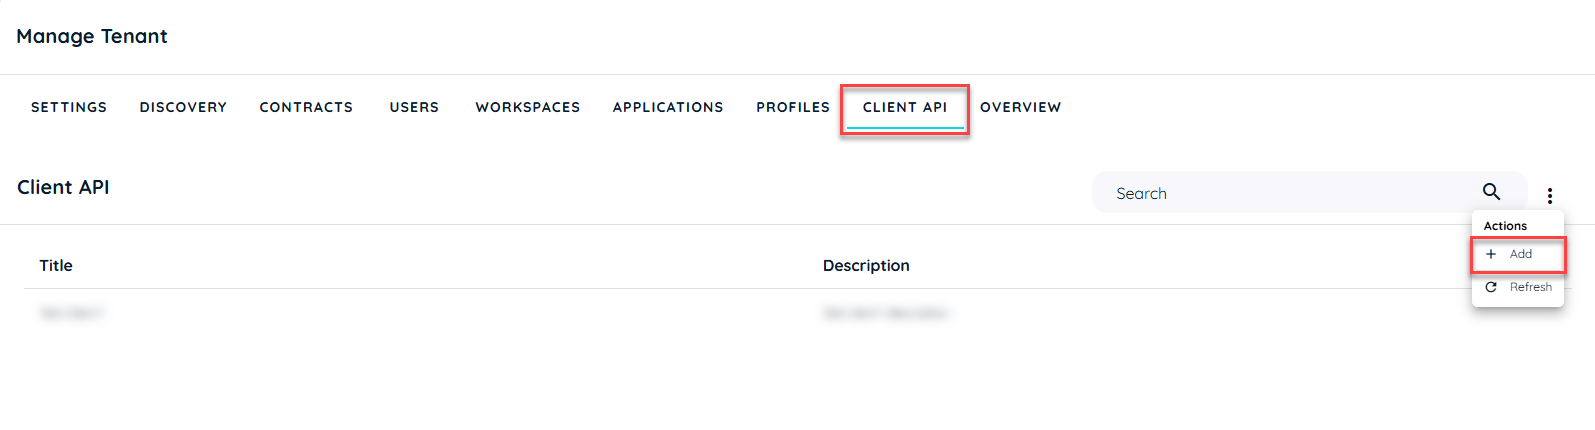
- Still under Manage Tenant, switch to the Client API tab.
- Click on the three-dot menu (…) in the top-right corner.
- Choose Add from the context menu.
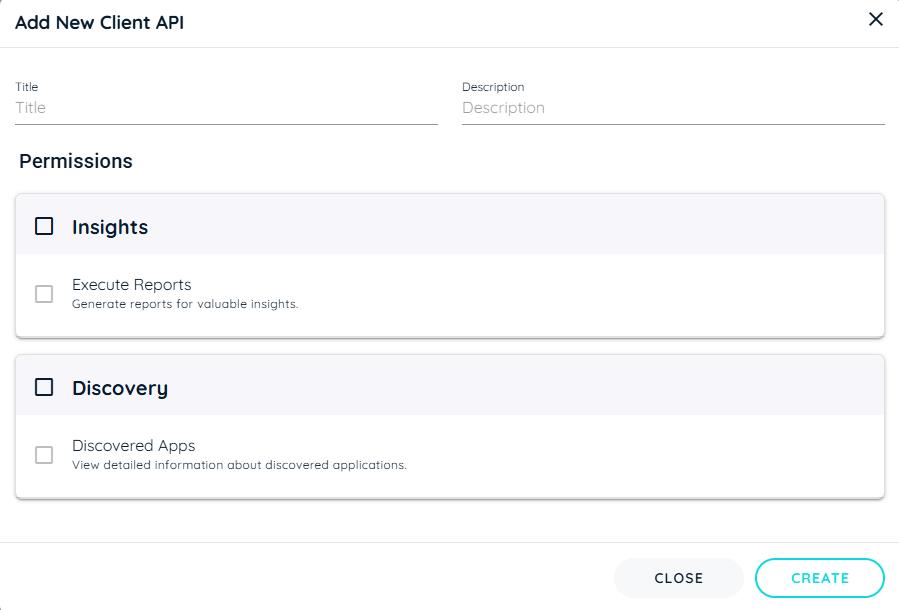
- In the Create New Client dialog, fill in:
Title: A descriptive name for your new client.
Description: A short explanation of how or why this client will be used.
- Select the Modules and API permissions you want to grant to this client.
- Click Create.
-
After you click Create, a new dialog will appear showing your Client ID and Client Secret.Retrieve Your Client Credentials
Important: Make sure you copy and store these credentials securely. You will need them to authenticate against the Public API.
By following these steps, you’ll have a new client configured and ready to access the Public APIs, enabling you to integrate AppNavi’s data into your own systems and workflows.
Create AppNavi Public API Postman Collection
- Launch the Postman app (or log in via the Postman web client).
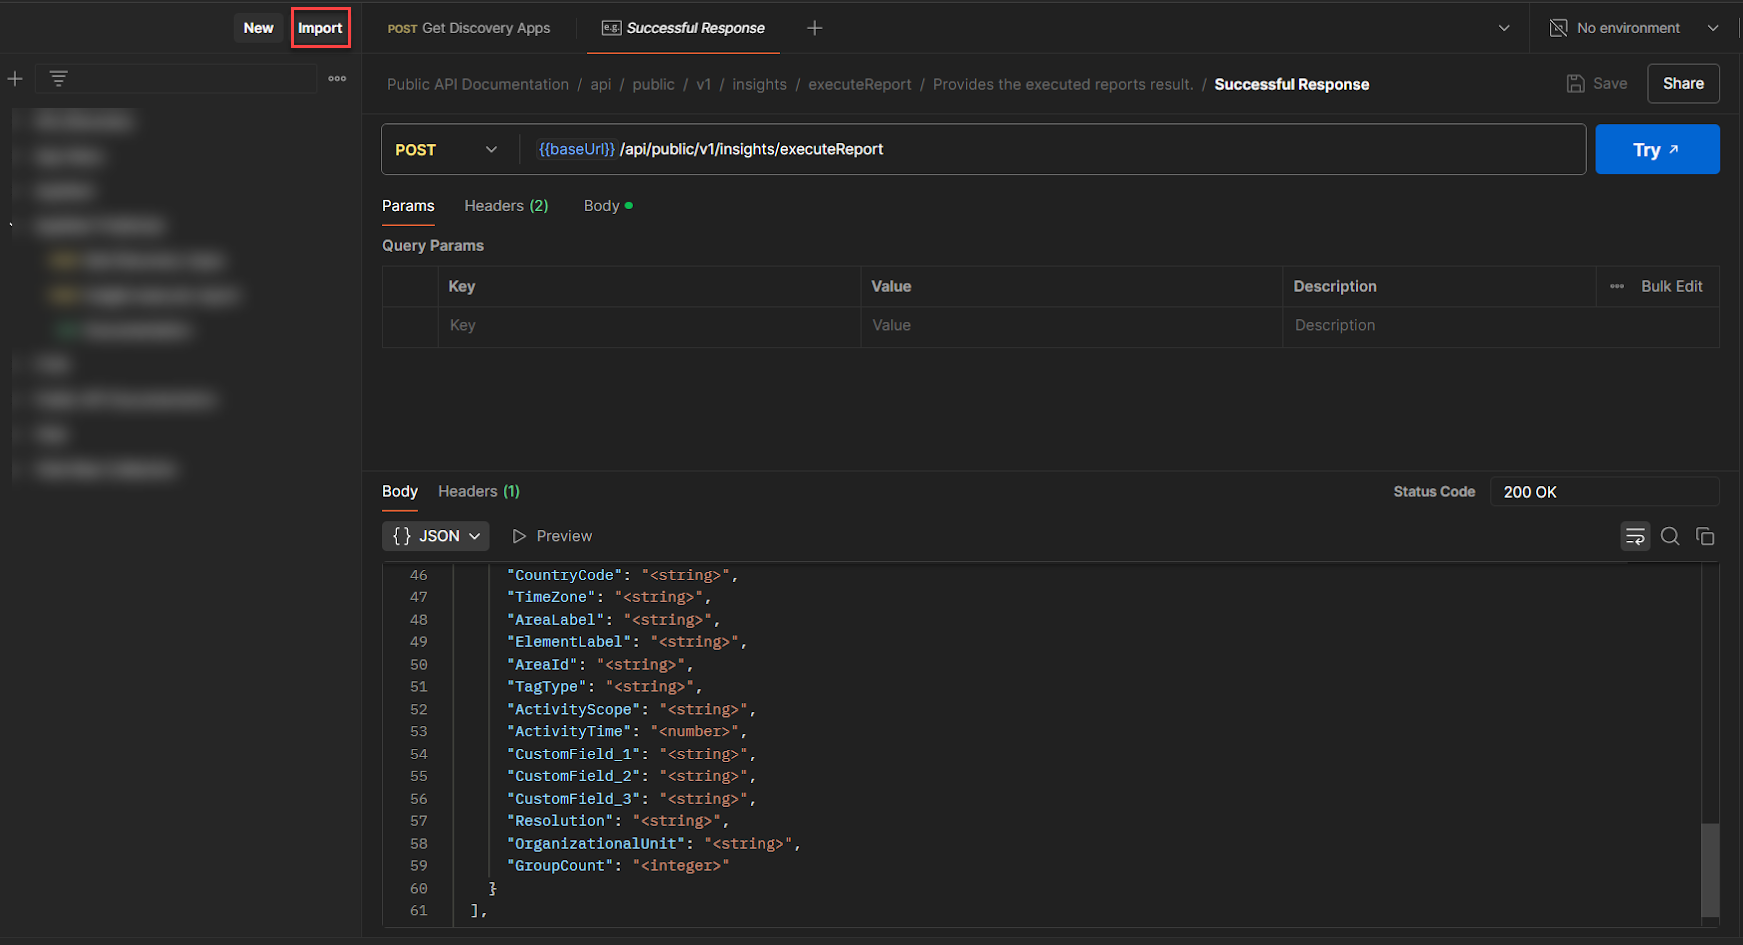
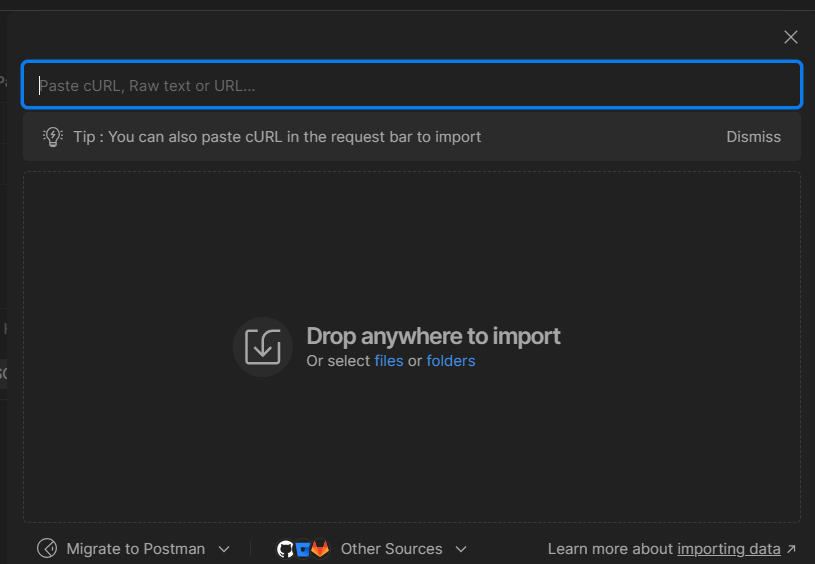
- Click the Import button (usually located near the top-left corner of Postman).
Choose “Link”
-
In the Import dialog, Insert the provided URL.
https://api-prod-eu-central-1.inappnavi.com/api/public/v1/openapi.json
-
After successfully fetched. Click on Import.
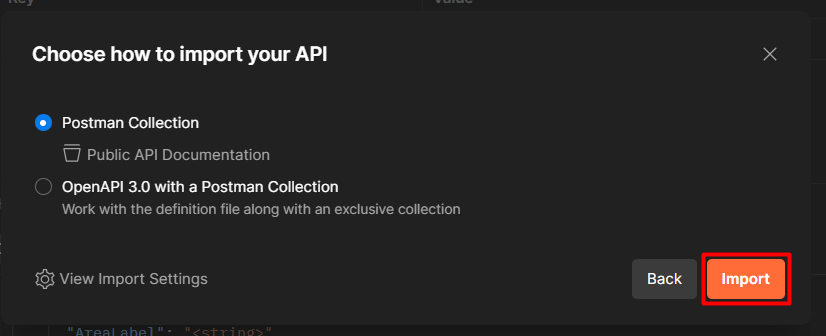
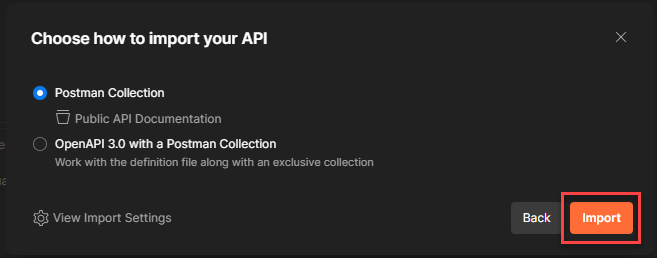
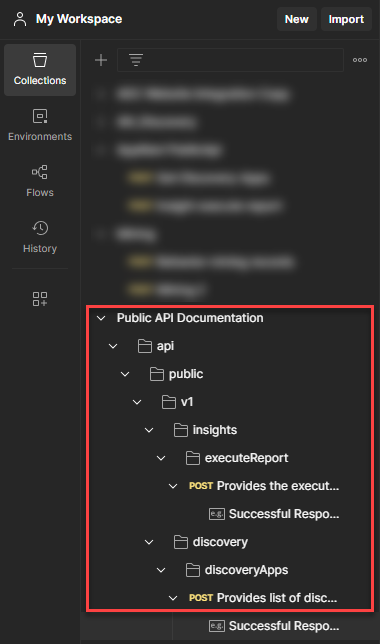
- A new collection will appear in your workspace named "Public API Documentation"
Updated 8 months ago
What’s Next
Did this page help you?