Manage Contents
The Manage Contents feature within the Guidance tab enables users to effectively organize and control the visibility of various content types (such as Routes, Posts, Announcements, Collections, and Pins) for a specific application.
How to Access Manage Contents
- Navigate to the Guidance tab.
- Go to the Application section.
- Select any specific application.
- Click on the three dots button (options menu).
- Select Manage Contents from the dropdown.

Manage Content
Overview
The Manage Contents page displays all available content related to the selected application. Content is grouped into three categories:
- Unassigned
- Assigned
- Published
Each category includes content tiles (cards) for the different types: Route, Post, Announcement, Collection, and Pin.
Users can drag and drop content tiles between these categories to change their assignment or publication status.
Note: All settings and options described below apply consistently across all content types, including Routes, Posts, Announcements, Collections, and Pins.
Unassigned Content
Click on the three dots on any content card under the Unassigned section. The following options appear:
- Assign: Moves the content to the Assigned section.
- Publish: Directly publishes the content.
- Edit: Opens the content editor.
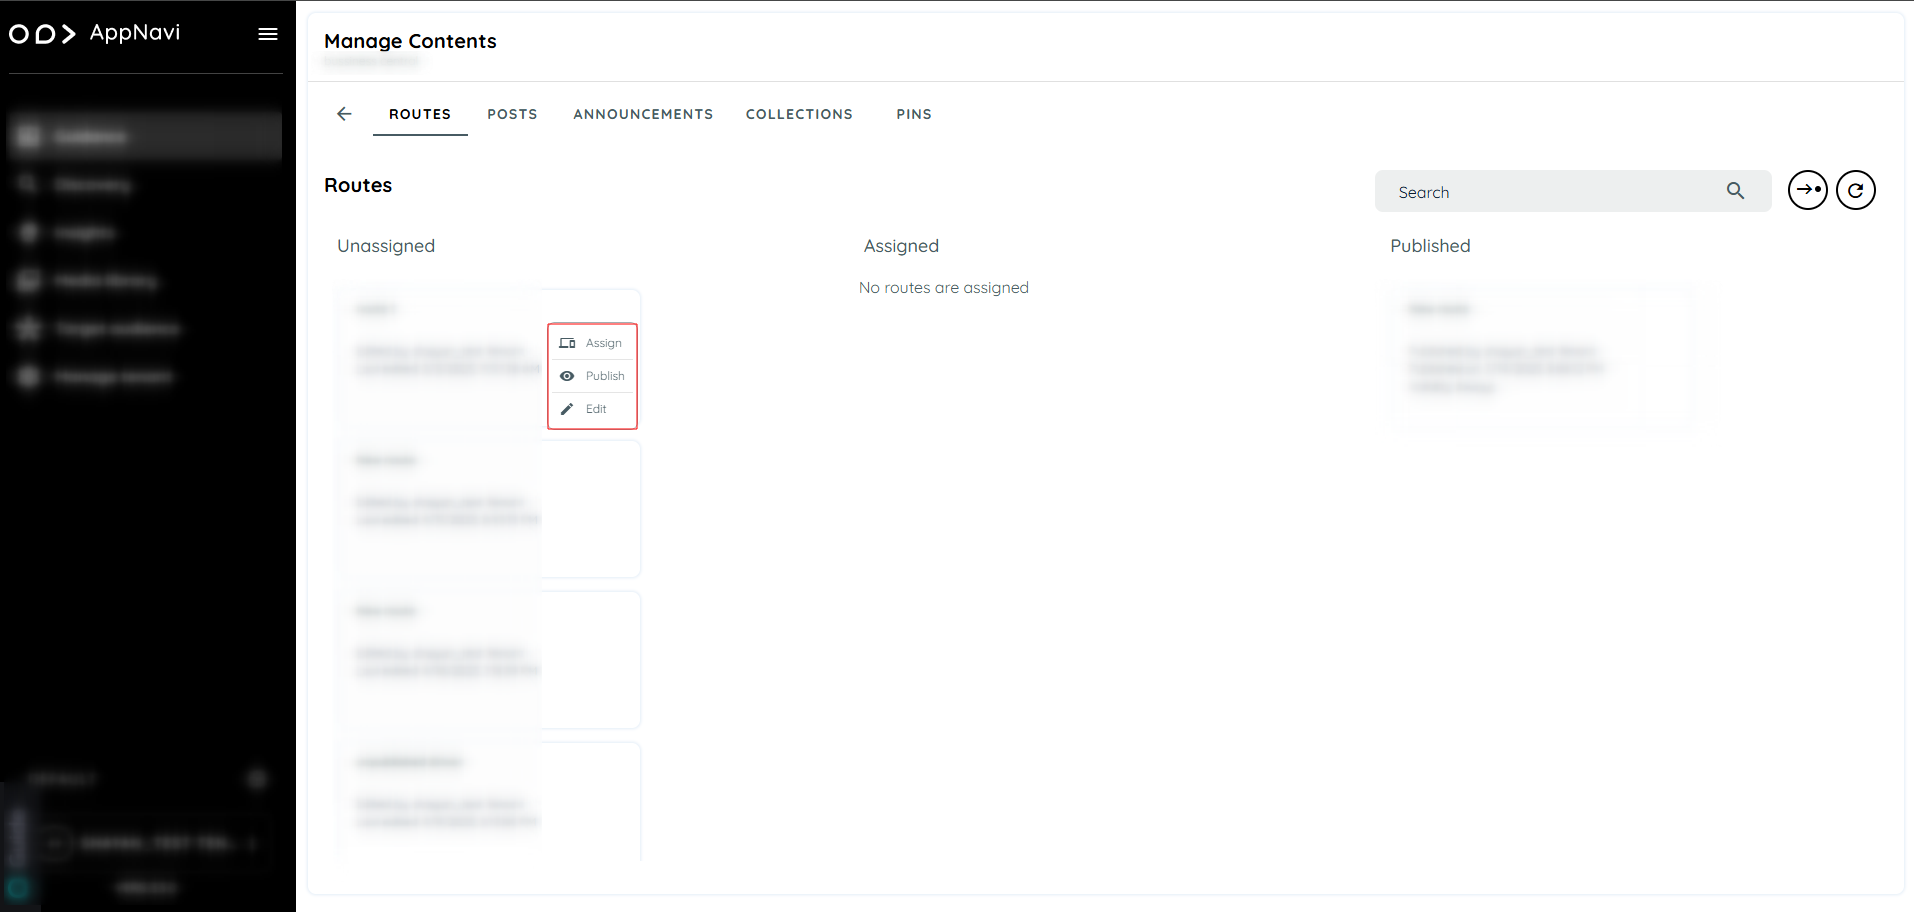
Unassigned Content
Assigned Content
Click on the three dots on any content card under the Assigned section. The following options appear:
- Unassign: Moves the content back to the Unassigned section.
- Publish: Moves the content to Published.
- Edit: Opens the content editor.
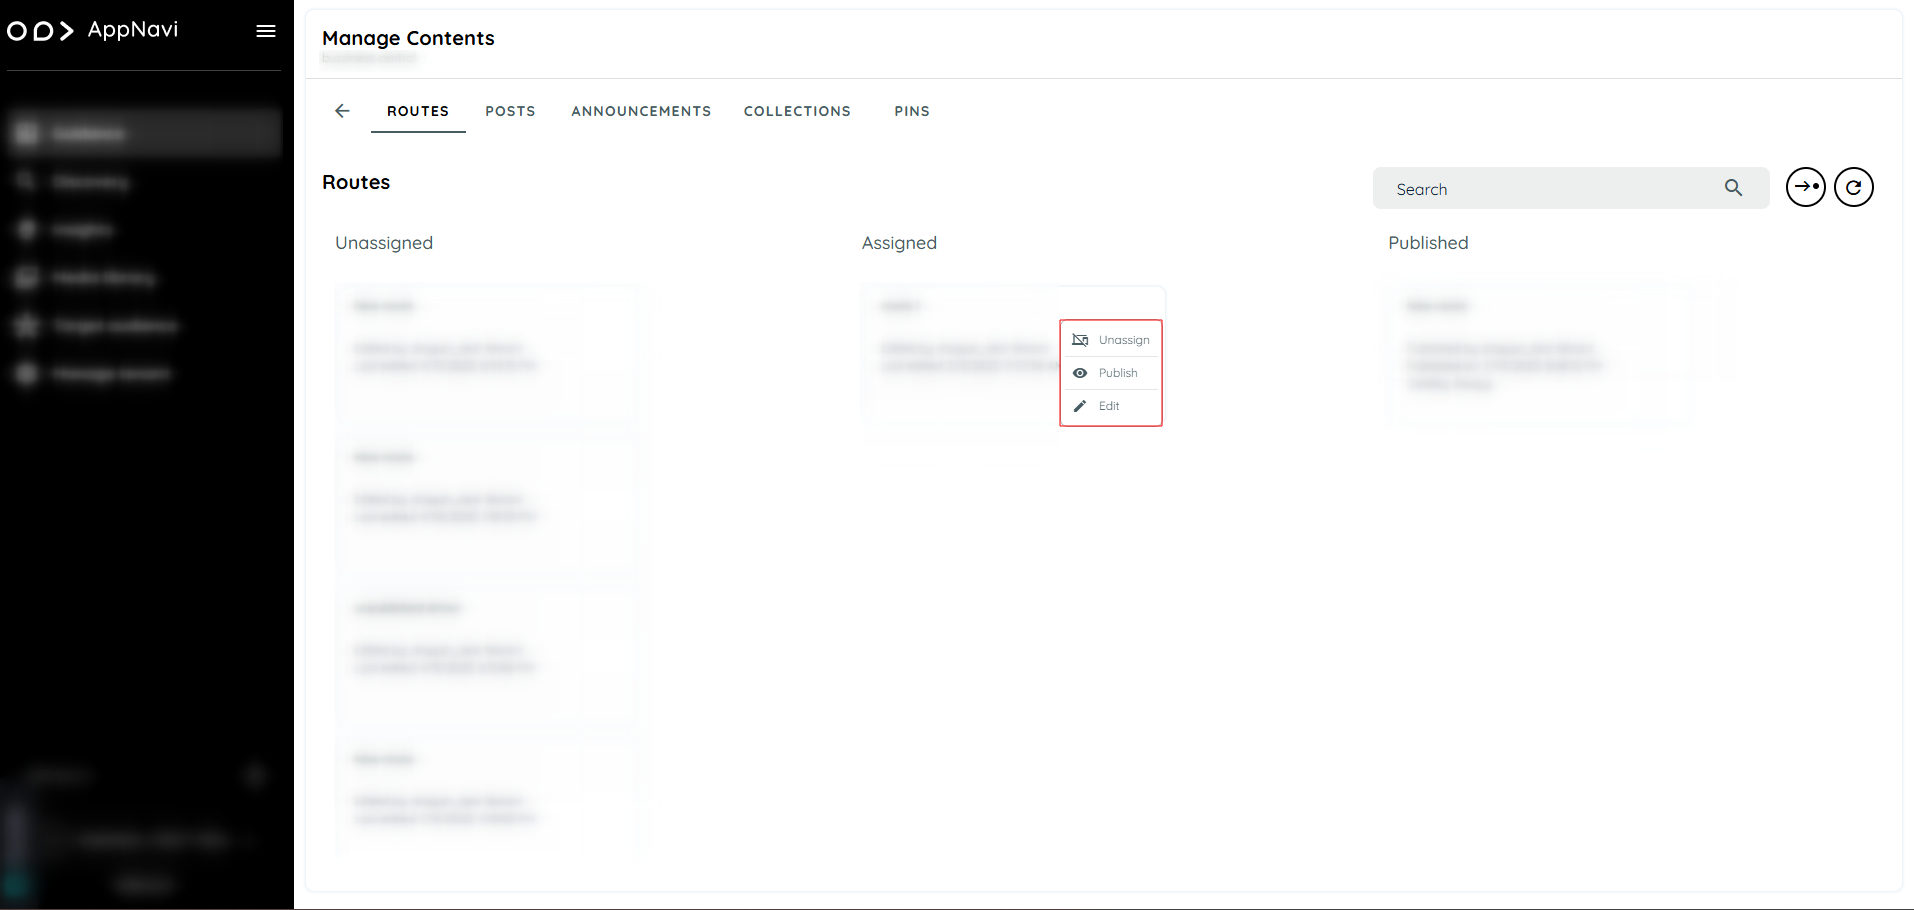
Assigned Content
Published Content
Click on the three dots on any content card under the Published section. The following options appear:
- Unassign: Moves the content to Unassigned.
- Unpublish: Removes the content from being visible.
- Republish: Opens additional settings to republish the content.
- Edit: Opens the content editor.
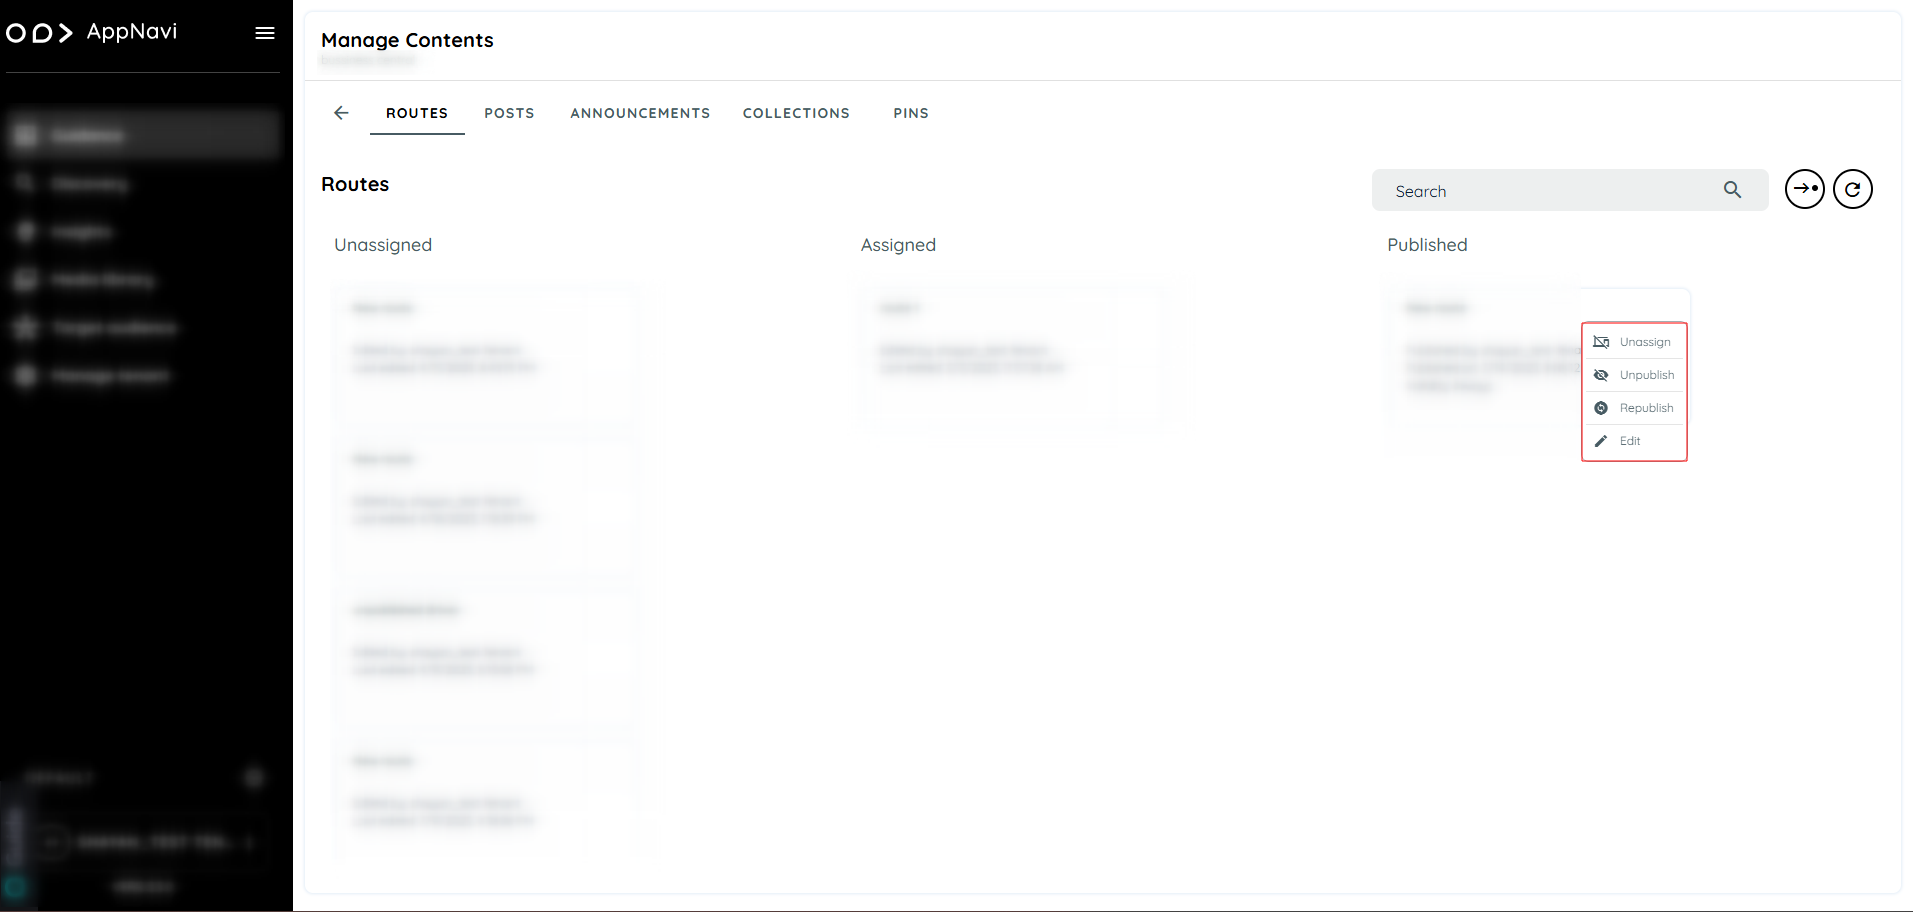
Published Content
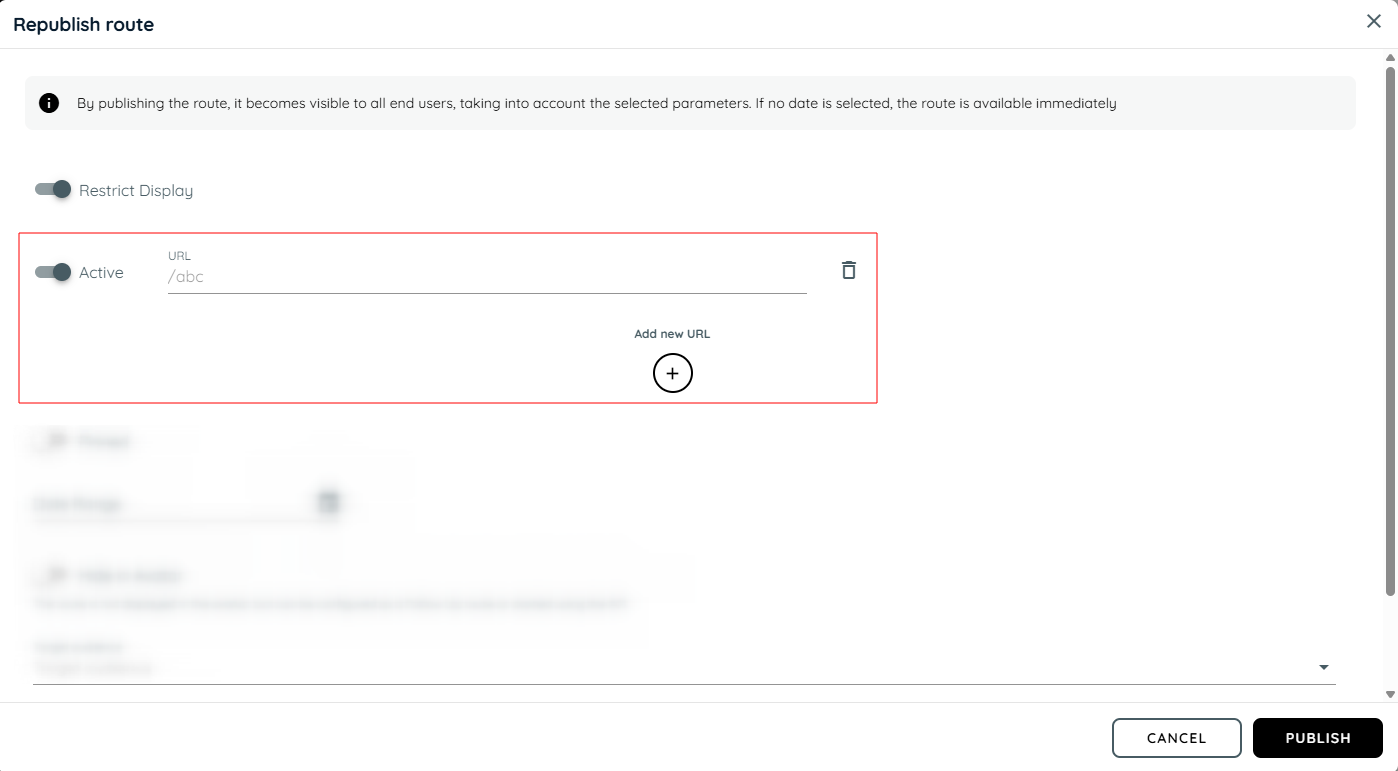
Republishing Settings
When Republish is selected, a dialog opens with the following configuration options:
Restrict Display (Toggle Button)
Once enabled, a URL field is displayed. Users can enter up to 5 URLs, specifying where the content should be shown.
more details on Restrict Display
Restrict Display
Pinned (Toggle Button)
When enabled, the content is pinned at the top of the published list and also highlighted in the Avatar. This only applies when the user is logged in.
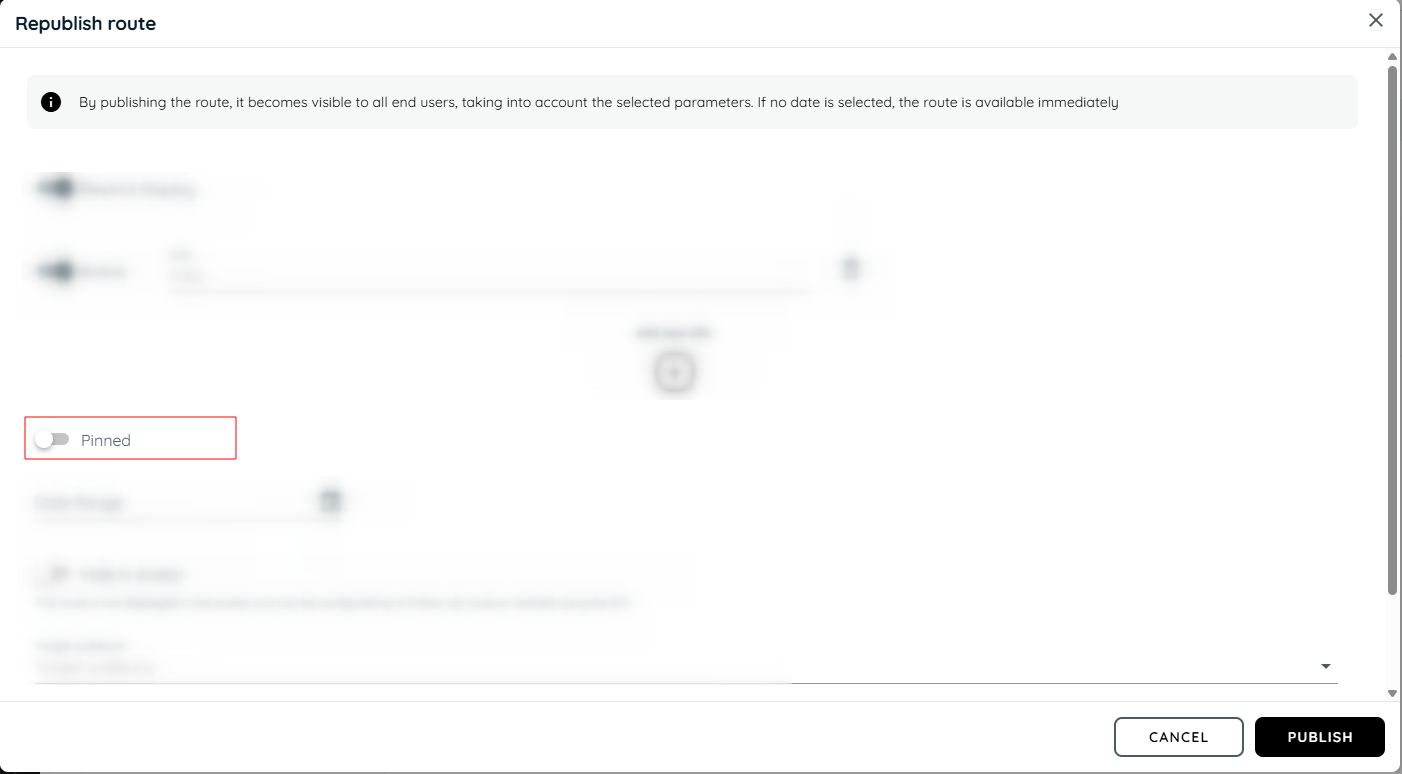
Pinned
Date Range
Users can define a date range (e.g., from 1 January 2025 to 25 January 2025) for when the content should be displayed. After the end date, the content will automatically be hidden.
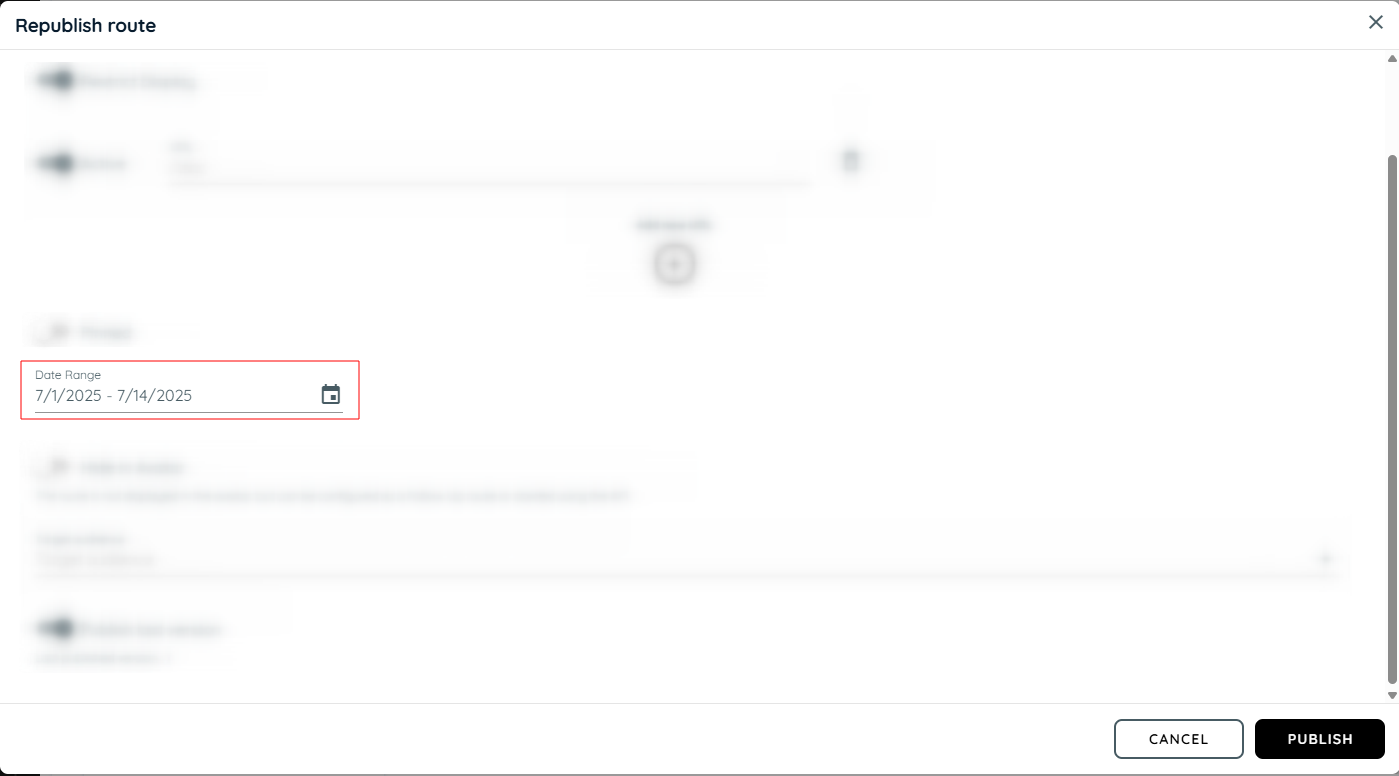
Date Range
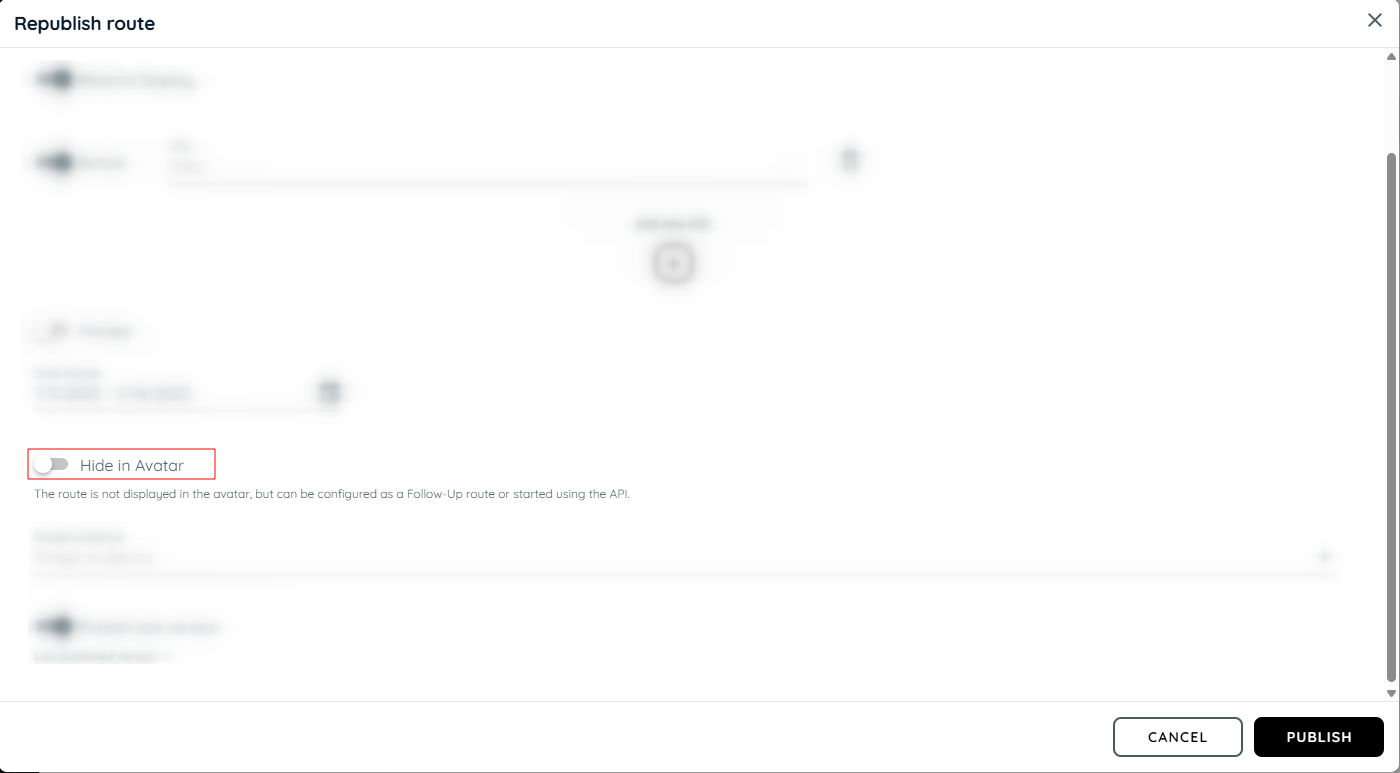
Hide in Avatar (Toggle Button)
The route is not displayed in the avatar, but can be configured as a Follow-Up route or started using the API.
Target Audience
Allows users to select a specific Target Audience. The content will only be displayed to users matching the selected audience criteria.

Target Audience
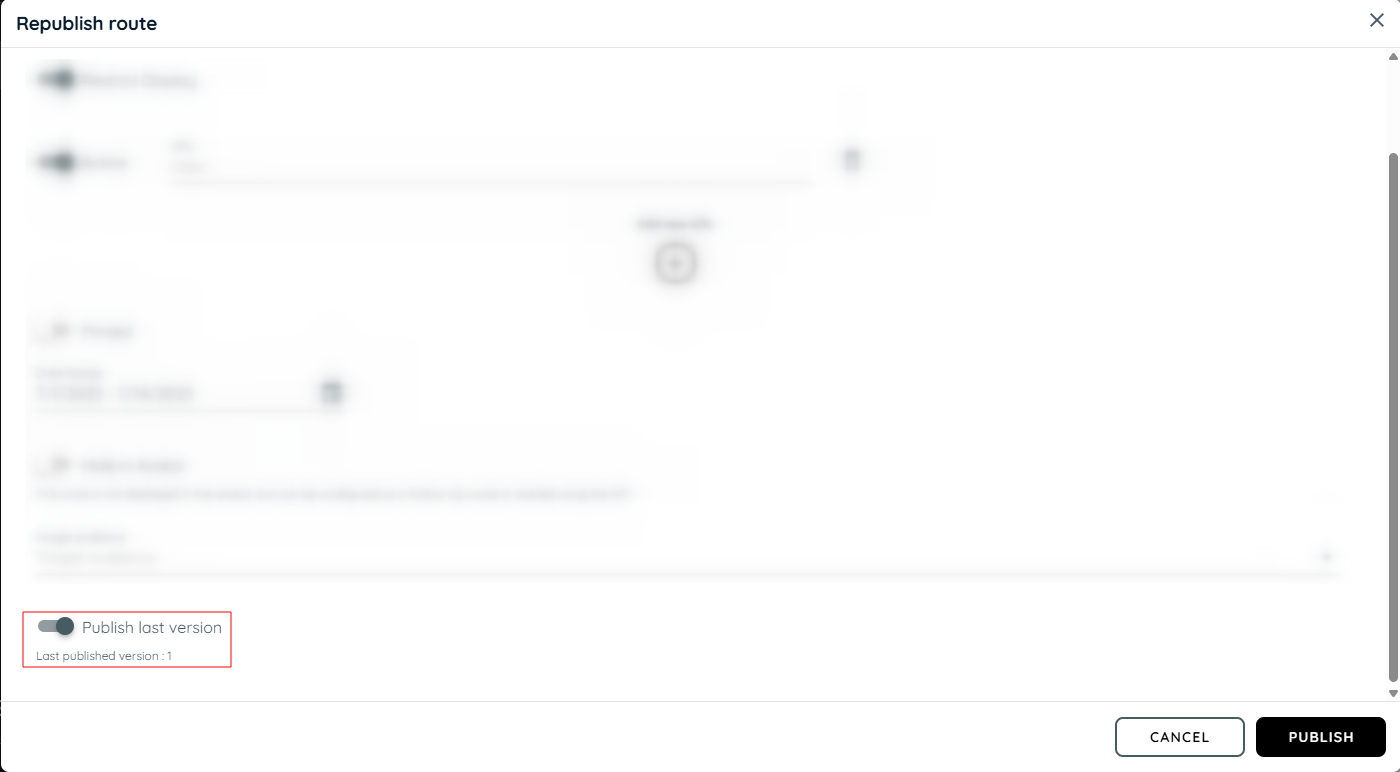
Published Last Version (Toggle Button)
Ensures that the most recent version of the content is displayed, useful for managing updates and changes.
Summary
The Manage Contents feature allows tenant owner to assign, publish, organize, and control how content is delivered to users for each application. With drag-and-drop functionality, flexible display settings, and audience targeting, it's a powerful tool for curating user guidance and ensuring relevant content visibility across all types including Routes, Posts, Announcements, Collections, and Pins.
Updated 3 months ago