Agent Triggers
The agent trigger section has been added in the Knowly section of the avatar. This feature is used to create an trigger action to activate the agent to perform the activity contained in the agent. Users can add an agent trigger using the add agent trigger button in the context menu in the agent triggers section.
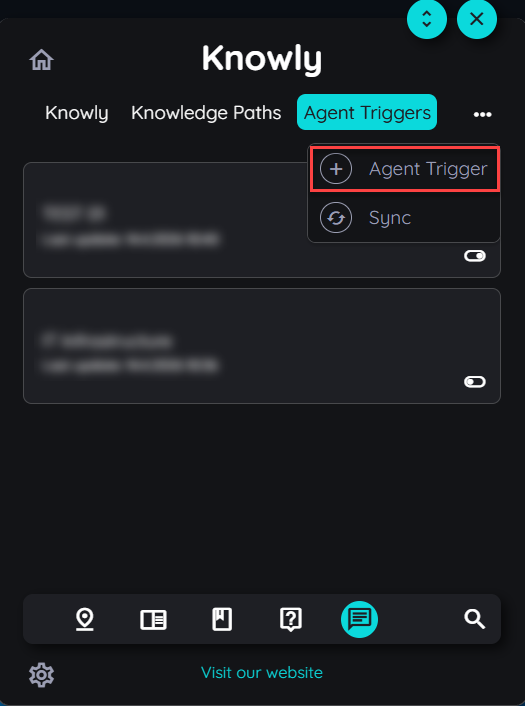
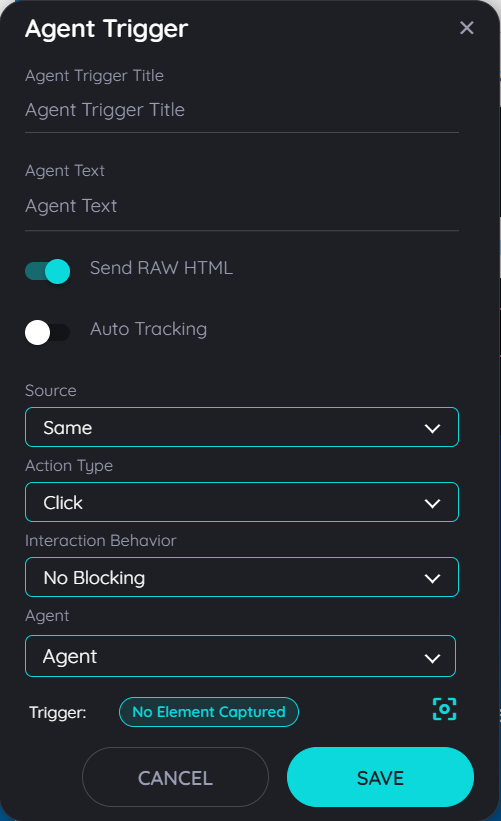
On clicking the add agent trigger button, an agent trigger dialogue opens. Users can add a title and description for the agent trigger. Users have the option to select multiple settings for configuring the agent trigger.
Agent Trigger Settings
Send RAW HTML:
Users cam toggle this on to capture the full raw HTML of the selected element instead of processed or cleaned content.
Auto Tracking:
Users can enable this feature to enhance the search mechanism of the captured element on which the trigger will be turned on.
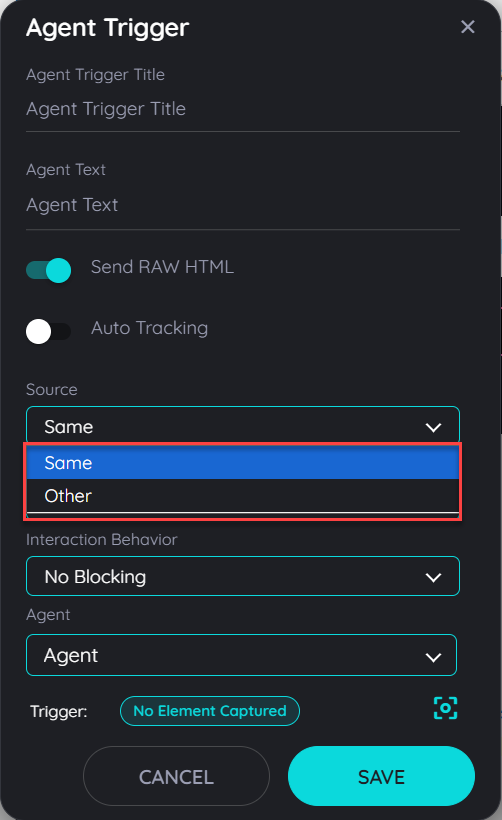
Source:
The user can select either source as 'same' or 'other', on selecting same there will be one capture to trigger on the element and on selecting other there will be two captures to trigger on the elements.
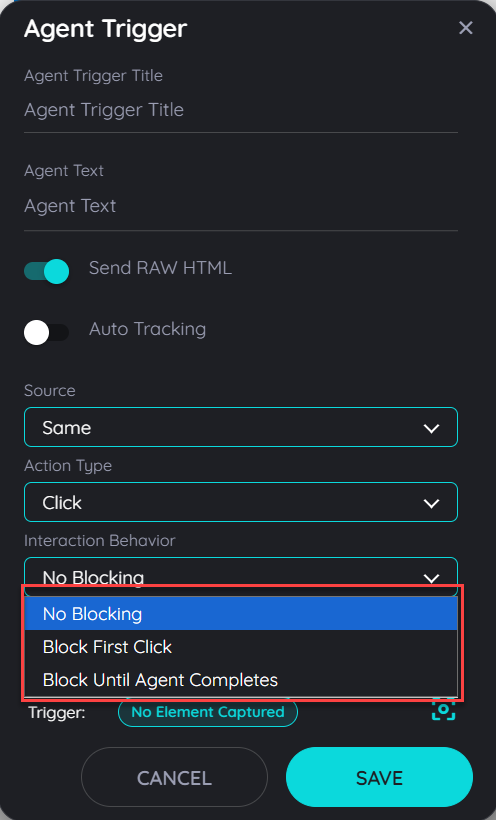
Interaction Behavior:
These are the options which the user can decide how the element will react when the agent is triggered. Users can select 'No Blocking', 'Block First Click' and 'Block Until Agent Completes'.
On selecting no blocking the element will always trigger as user clicks on the element. On selecting block first the element will not be clickable on the first click when the agent is triggered. On selecting block until agent completes the element will remain unclickable until the agent is trigger is completed.
Agent:
The users can select their desired agents to be incorporated with the agent trigger, once the agent is triggered then the whole flow will be completed how the agent is designed.
Trigger and Element Capture:
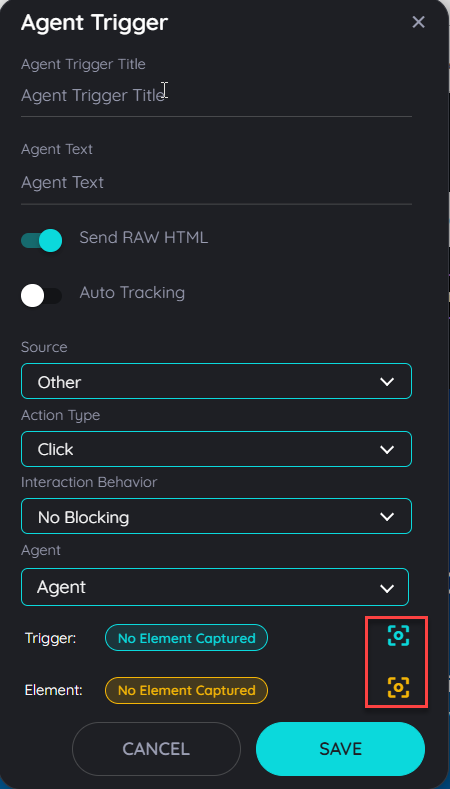
Users can make captures on the element where the agent has to be triggered. On capture of the trigger and element the trigger is enabled when users click on these elements and data is also extracted using these elements if an agent uses the data in the agent.
Agent Trigger Portal View and Management
When an agent trigger is created on Avatar then it is added on the agent trigger page located in the manage knowly contents tab. Tenant owner can select the desired agent trigger and add a target audience to that trigger.
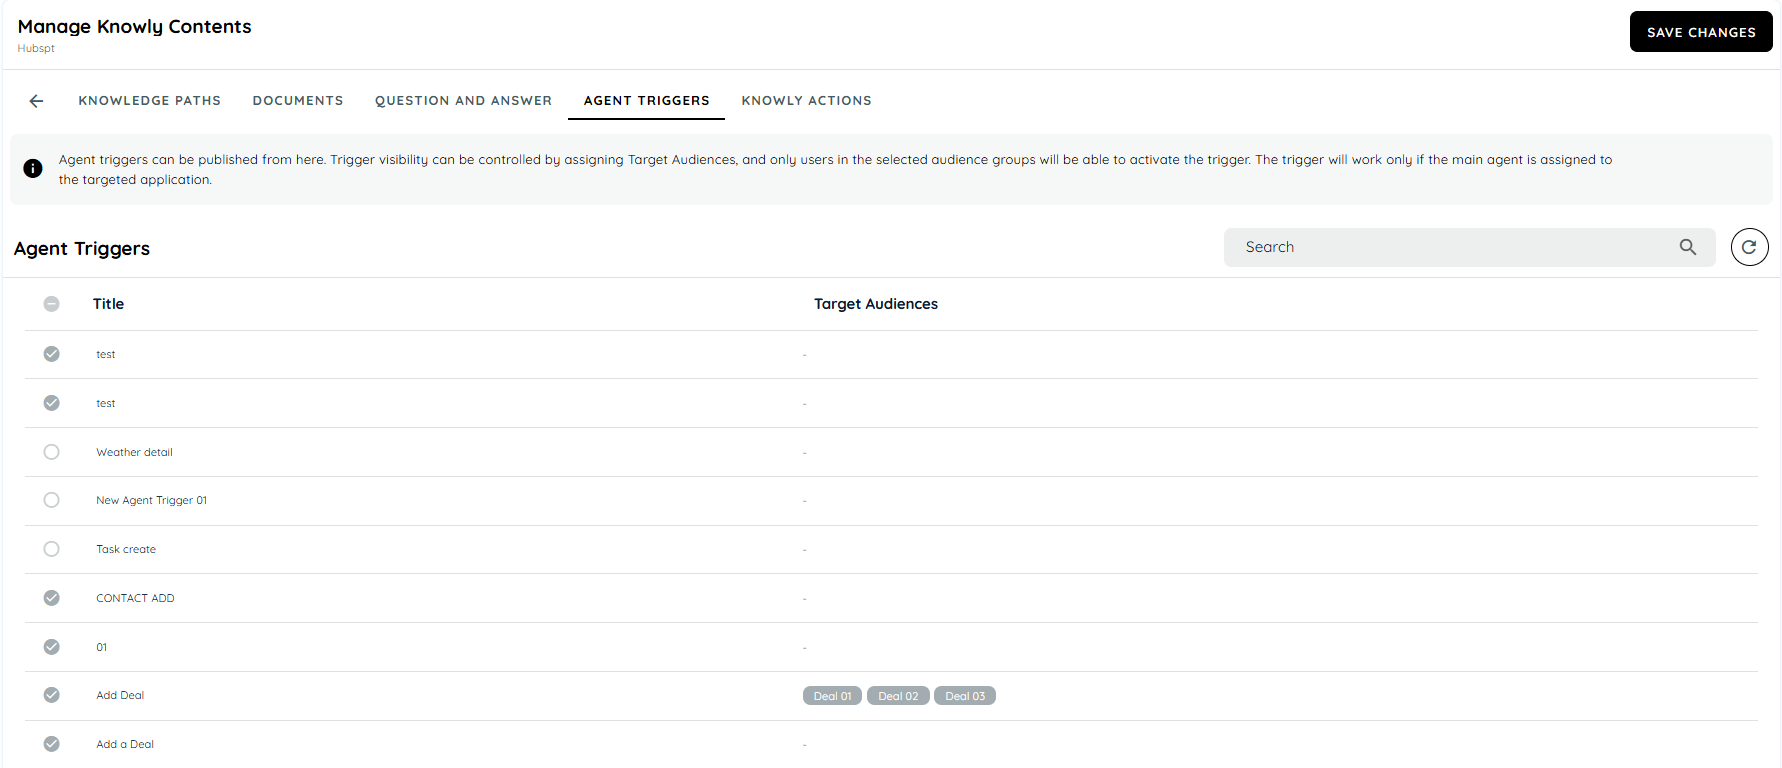

On editing the triggers the target audience dialogue will open and all available target audience will be available in the drop down. User can select their required audiences and can save all the settings from the save changes button on the top right. User can publish multiple triggers by selecting from the left multiselect option and save the changes.
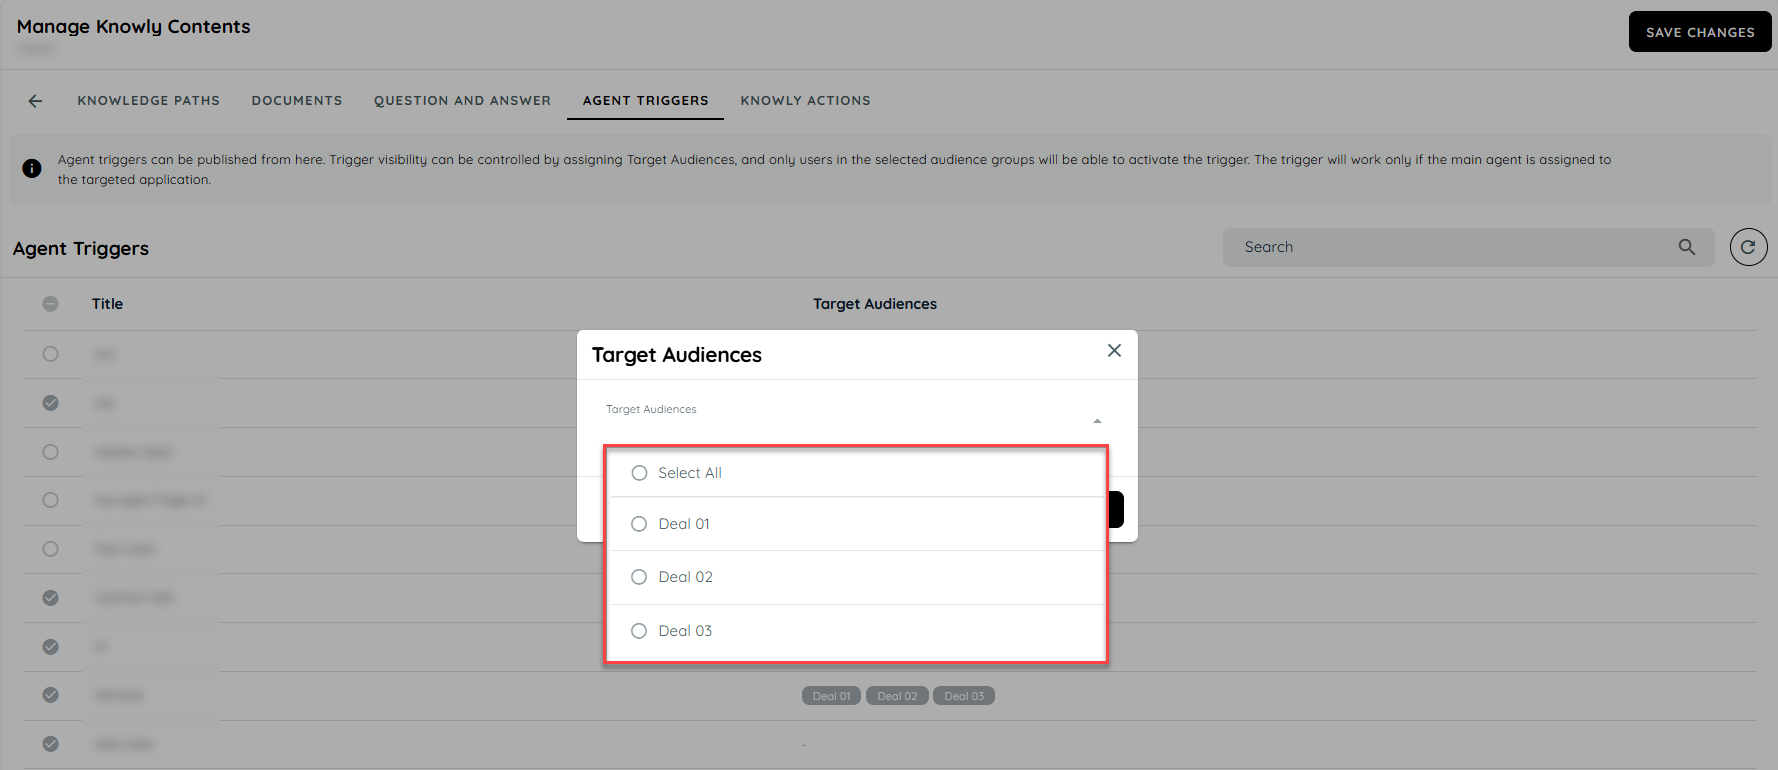
Note: Refer to Target Audience for understanding configuraion of a Target Audience.
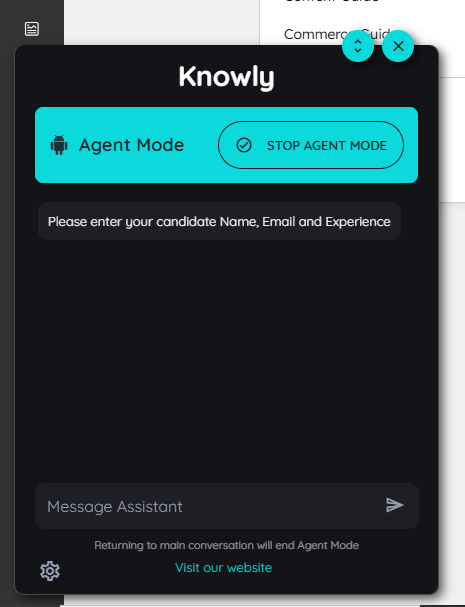
Agent Mode Session
Agent Mode is a dedicated workflow built on top of the existing Knowly chat experience to provide users with a more guided and controlled interaction model within the Avatar platform. When Agent Mode is initiated, the system must create a new session and automatically transition the user from the default Knowly chat interface to the Agent Mode UI. The purpose of this mode is to restrict the interaction flow to agent-driven execution only, ensuring users remain focused on completing the configured agent workflow.
Agent Mode must function as an isolated execution environment, meaning all external Agent Triggers should remain disabled throughout the active session and must not interfere with the ongoing agent workflow. Only one Agent Mode session should be allowed at a time to prevent conflicts or overlapping executions.
When an agent trigger is activated, the system presents the user with confirmation options in the form of “Yes” and “No” buttons. These options allow the user to explicitly approve or decline the initiation of the agent workflow.
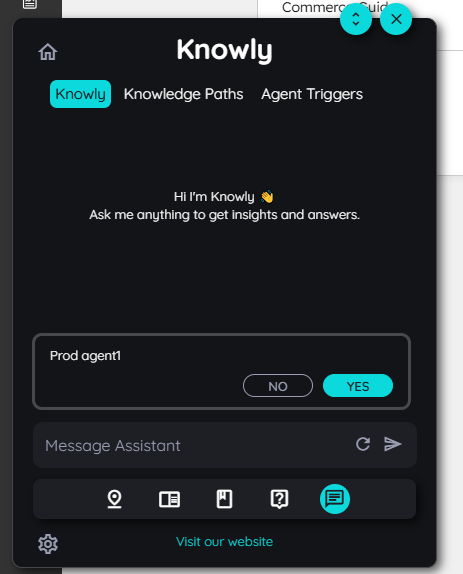
When the user selects the “No” option, the Agent Mode session is not initiated and no further action is taken. If the user selects “Yes,” the system starts the Agent Mode session and switches to the Agent Mode interface. A “Stop Agent Mode” button is displayed at the top to allow the user to terminate the session if needed. Once the agent execution is successfully completed, the button label updates to “Agent Completed,” indicating the end of the process.
Updated 3 months ago